Showing posts with label diamond satin. Show all posts

Thursday, May 11, 2023

Congrats to the GRAD card

 Hello friends.  Today I'm sharing a Graduation Card that is flat for mailing but still embellished with some pretty ribbons and burlap sting from Really Reasonable Ribbon.


The sentiments I used on my card today came from the Graduation Digital Stamp Bundle and the coordinating Graduation Sentiments 'For the Inside' Bundle from Bonnie Garby Designs.

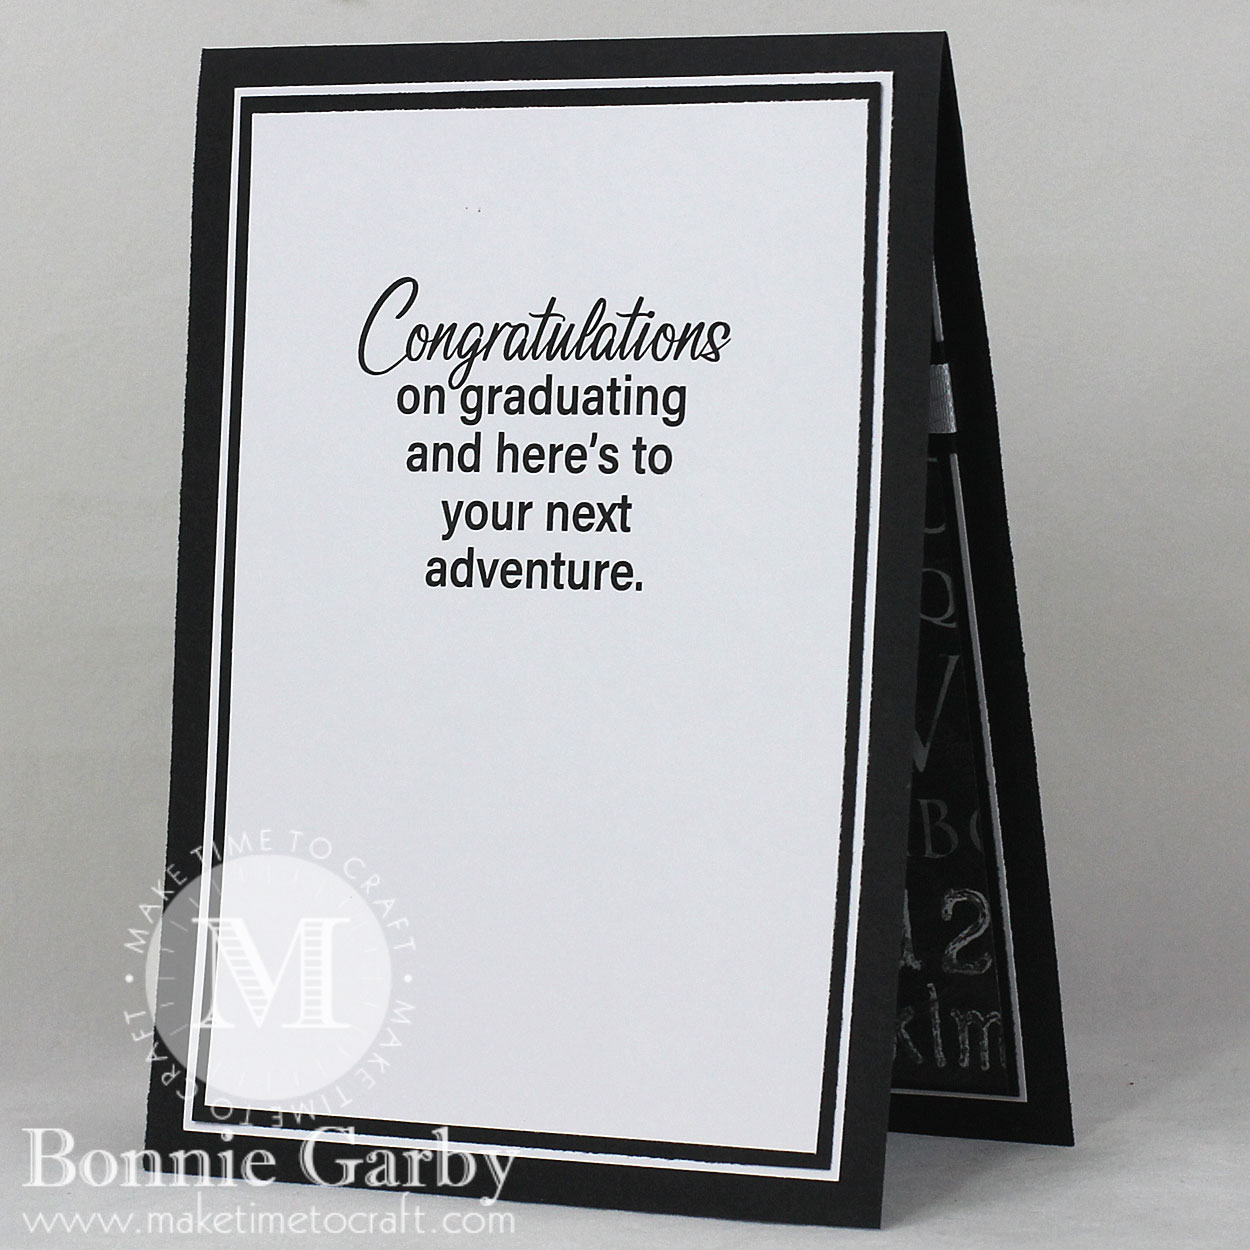
Our sister company 'Bonnie Garby Designs' is offering a large variety of digital sentiment stamps and svg files.  Below are the two sets I used on my card today.  


*************************
For a video tutorial on how I use mulberry paper, please click HERE.


Thanks so much for stopping by today.  Don't forget to stop by and visit me on my Make Time to Craft Blog too.  Have a crafty week!


Wednesday, October 9, 2019

All Hallow's Eve Mini Album Page


Hello everyone.  Today I have another page for the mini album I've been working on. This one is the All Hallow's Eve page designed for Really Reasonable Ribbon, and will be for Halloween photos. On this page I wanted to use the beautiful ribbons from the September Ribbon Club Assortment as they are all so pretty!

So for this page I used black card stock for the base, and made it so it's open on both sides for easy attachment to the album. Next I created the flaps and pockets using Graphic45 design papers. I kept the decorations  pretty simple for this page. I did add beautiful ribbons from the Septembers Ribbon Club, some covered buttons, bats, and a candy. I love making these pages to be interactive and have lots of room for photos and journaling. Hope you enjoy my post, as I've also included a little video showing how the page opens.


Really Reasonable Ribbon Supplies used:
Scor-Tape
Tape refill scotch
Delicate Stitched Satin tangerine
Swiss dots black
diamond satin grape

Thank you for stopping by and have  a lovely day!
Hugs to all,
Cheryl

Wednesday, May 20, 2015

So Proud by Jenn Cochran

Hello to all the RRR friends and fans!  Jenn here and I am so excited to have you join me today.   Remember the fun Starburst card from our hop on the 13th?  Well, as promised I have a Tell All Video showing you the measurements on how I made the sometimes difficult card.    1st I want to show you a pretty bow I tied on a vase for a gift.  It features the Delicate Stitched Satin ribbon in Lemon.  


Ok now for my Tell All Video for this fun Sunburst Card.


Thanks so much for joining me today.  Let me know what you think of the video.  If you have any questions, leave me a comment on YouTube and I will get it answered.


Thursday, April 23, 2015

Wrapped Up In Satin


Hello RRR fans.  It's Dana here today.  I'm sad to say this will be my last card for my dt term here at Really Reasonable Ribbon.  I have had so much fun here with Bonnie and the ladies.  Bonnie always makes us feel so special and it has been an honor to design with everyone.  Well, let me showcase my last card.
I wrapped my last dt card up in lots and lots of satin ribbon.  First I used the Diamond Satin ribbon in the beautiful color of daffodil.  This made a great background for my electric blue satin ribbon with silver metallic edging.  Oh my word...this ribbon is amazing.  Let me give you a close up.
My, my, my this is a pretty bow.  LOL  I just can't say enough about the gorgeous color of this ribbon.  It is definitely one of my favorites.  But then again...all the ribbon I have used from Really Reasonable Ribbon have been my favorites. ;-) I'm sure you all have favorites too and you can head on over to the shop and pick up some more favorites.   I want to thank you for all your lovely comments on my cards and I hope to see you all again soon.

Hugs,
Dana

Tuesday, January 20, 2015

Fairy Time Mixed Media Tags


Hello Friends!!
Heather here and today I have some cute tags to share with you.
Not my normal style...these are a bit messy...but sure were fun to create!
On my first tag I used images and Digital Papers from Gecko Galz and some 7/8 inch Pink Organza (tie at the top, hard to see), Turquoise Diamond Satin and Tiny sheer mini blue dots organza.


 On my second tag I used some of the Acid Green Diamond satin7/8 inch Pink Organza (tie at the top, hard to see) and Hot & Shocking Pink Diagonal Ribbon.


Here are a couple close ups.
I used my Bow it All tool to create the double bow our of the acid green satin and I simply tied a knot with the light pink organza.  I used the Diagonal Ribbon to create the tiny banner. 


I used the Mini dots across my wagon and again I used the Bow it all Tool to create another double bow.


Here is a close up of the tag with another Double bow made with the Bow it all tool.


I hope you enjoyed my post, and hope you have some time to pull out your ribbons and have some messy fun!

Before I forget, if you liked my double pocket tag card below that I did for our January Blog Hop,  I will have my tutorial of how to make the pocket card here on the 29th of January.


Thank you for visiting us here at Really Reasonable Ribbon!!

Hugs

Sunday, August 17, 2014

Sweet Ride a Pony Baby Card


Hello everyone, Cheryl here with a sweet baby card to share today. I made this card for Really Reasonable Ribbon & The Scrapping Cottage using the beautiful ribbons, netting, and hemp from RRR, and then beautiful CottageCutz Baby Dies from The Scrapping Cottage.


I LOVE the Delicate Stitched Pink Satin Ribbon that Bonnie carries at the Really Reasonable Ribbon store. It's beautiful in person, and pictures don't seem to show all the beauty. I criss-crossed the ribbon for a different look. Then used the White Tulle and ran it across the center over the Ribbon and tied it in a bow. Next I added a big pink bow using the same Delicate Stitched Pink Satin.

My buttons are also from the Really Reasonable Ribbon store, and I used the Hemp in PINK for a sewn look. Love using the Hemp Bonnie carries.  It's perfect for the buttons.

The Baby Dies I used are CottageCutz dies, and are from the New Baby Release (The Scrapping Cottage). The Design Paper is from American Crafts and one is the Pebbles collection.

I enjoyed creating my card for today! It was super easy!!!


Thank you for stopping by, and for all your lovely comments! Hope you have a super AWESOME Day!!
Hugs to all,
Cheryl

Thursday, February 27, 2014

Simple Masculine Birthday Card

 Happy Thursday!! I was playing with this Turftan Brown Diamond Satin Ribbon the other day and this idea struck me. Have you ever had a moment when everything just came together in a blink of an eye? I wanted to use up my silver buttons and create a simple Masculine birthday card, so I went into work!

I love all of the diamond satin ribbons that Bonnie carries at RRR, they are smooth and wonderful to tie bows easily. Here I simply tied the knot vertically on the card and added a silver button right on top using the glue dot. Stamped the sentiment in blank ink and added a few star sequins on the card. This card took only few minutes, and I thought it would inspire you to feel more comfortable in creating any masculine card.
Thank you for stopping by today and I hope you have a wonderful day!!

Sunday, February 16, 2014

Little One Layout

Hello everyone and Happy Sunday to all! Cheryl here today to share a layout I did for my son's album that I have been working on. I used the beautiful Really Reasonable Ribbons from this month's Ribbon Club Assortment.

The February Ribbon Club Assortment worked perfect for this layout I did. I love blues and browns together and it's perfect for a little one. All three ribbons and lace came from February's Ribbon Club found at Really Reasonable Ribbon here! 

My son will be 21 in April and I have been trying to get some of his pages done for his album.  This will be another to add to the album for him.  The title of my page came from the design paper I used.  It says Little One under the little hedgehog at the top of the page. I thought it would be perfect for this layout. The little CottageCutz hedgehogs are dies I used to cut out the ones at the bottom of my page. They were colored with Copics and glued on. I also glued on my ribbon, stars, and even the Thicker's to be sure that nothing falls off.

I really enjoyed making this page, and sharing it today. Hope you all have a super wonderful day!


Thank you for looking!
Hugs to all,
Cheryl

Tuesday, March 26, 2013

♥♥♥Easter Blessings ♥♥♥ Candy Container

Hello everyone, Cheryl here with a recycled Laughing Cow decorated container for Easter. On my Treat container I used  ♥♥♥Really Reasonable Ribbon's Beautiful Satin's ♥♥♥.

I used the Diamond Satin Tulip that is also in the March Ribbon Kit. I LOVE this beautiful ribbon and the color is soo pretty!!!! I also used some Pink 3/8"Satin with Iridescent Edge Pink for the Bunny Bow and for around the outside edges of my container.


 ♥♥♥How to ♥♥♥
I took a Laughing Cow empty cheese container(the ones that you find at the grocery store) and painted it using white Paint and some Creative Inspiration Paint in PINK too mixed in. I painted the outside of the entire container and set aside to dry. Next I took some Circle /Scalloped Circle Spellbinders and cut my sizes for the top and inside layering. 

I glued the pieces on and then added my CottageCutz/Peachy Keen Easter Basket Bunny, CottageCutz Filigree Egg, Picket Border Fence. All are glued on except the Bunny and the cloud. I used Foam Squares to attach them. The cloud was a cutout from MLS, and I stamped a SU! sentiment on it. Super easy to make. All the Pearls are from Really Reasonable Ribbon, and they are glued on the egg!


Here is a photo showing the container before and after. 


It measures 4" around, and is 3/4" high on the inside.
I think its perfect for holding jelly beans, mini choc eggs, mini chocolate bars the ones that are wrapped, you could maybe do 2 layers of those.
♥♥♥ I think these are a perfect gift idea for Easter ♥♥♥
 And SUPER Fun & Cute!!!


Thank you for looking and have a lovely day!!!
Hugs to all,
Cheryl
 

Wednesday, October 31, 2012

Need A Last Minute Halloween Treat?

Happy Halloween! 

Today I am sharing a quick and easy treat bag for last minute classroom, teacher, or other little ghostie gifties you might need. Or bookmark it and use it for next year! It's fun and quick and even my 19 year old loved it to make and give to her college friends at their costume party.

SPOOKY S'MORES! The ingredients are easy! Two graham cracker squares, 1 individually wrapped mini Hershey bar, and a ghost Peep! Bag 'em all together, add some adorable ribbon and a cute tag, and you are good to go! The recipient can microwave them for a delicious yummy treat~

Make sure your ghost is in the front! :)

I used three different ribbons from Really Reasonable Ribbon: Satin Swiss Dots Tangerine, Diamond Satin Grape, and Shimmer Satin Apple with Silver.
The best part? I got them all in the September Ribbon Club! So I had exactly what ribbon I needed for this project all in one place! If you haven't joined the Ribbon Club, you need to do it today! Tell Bonnie I sent you :)

If you would like to see close-ups of my cute tags from Whimsie Doodles, come visit my blog: Joy in a JAR. Thanks for stopping by and save some candy for me!
Stamps: Halloween Sentiments 2 and Frankie by Whimsie Doodles
Ink: Copic markers
Paper: Georgia Pacific White CS
Accents: Satin Swiss Dots Tangerine, Diamond Satin Grape, and Shimmer Satin Apple with Silver Ribbon (RRR), Spellbinders dies

Tuesday, October 9, 2012

Let's Talk Turkey

Hi everyone!  I've had this idea in my head for a cute Thanksgiving card for a while and finally got around to trying it. 


I cut the turkey's body, beak and waddle with my Silhouette Cameo.  To create the "feathers", I cut 2" strips of ribbon and then hot glue the ends together to form loops. I hot glued them to the back of the body piece. I used several colors of diamond satin ribbon and double faced satin ribbon.
I added a strip of natural jute ribbon and tied a bow with some hemp cord from this set
I think he looks so cute!  This is a great way to use up those little scraps of ribbon and would also be a fun craft for kids.  You could just hand draw the body and have them cut it out by hand. 

Thanks so much for stopping by! 
Corri

Monday, July 9, 2012

Post It Note Cover

We are teaming up this week with our friends over at the Scor-Pal Blog to show our favorite crafty tools and products from Scor-Pal and Really Reasonable Ribbon. Head on over to the Scor-Pal Blog when you are done here and see what they are up to. Leave them some love and tell 'em we sent ya!!

Be sure to leave a comment on each post on the RRR blog beginning with our July 4th post and ending with our July Blog Hop on July 13th. I will be selecting several random winners from our Scor-Pal/RRR posts on these days to receive some fun ribbon assortments from Really Reasonable Ribbon. You've gotta be in it to win it!! There will also be some fun prizes over at the Scor-Pal Blog, so don't forget to visit them too!!


Hi everyone!  I hope you guys all had a great weekend.  I have a fun little tutorial for you today.  These post it note covers make great little gifts....teachers love them!  These would be great for back to school. 

Photobucket


Photobucket


Photobucket 

Photobucket
I used Scor Tape to adhere these three strips of diamond satin ribbon.

Thanks so much for stopping by! 

Corri