Showing posts with label All occasion card. Show all posts

Monday, March 20, 2023

Celebrate Spring

Hello, everyone! It is Gloria back after a little break! I am hoping to celebrate spring on this first day of spring! It has been strangely rainy and cold where I live. I love the rain, as it is so infrequent here, but honestly, we have had more than our fair share! We are close to our yearly rainfall and it is only March 20th! 

In celebration of spring, I chose some soft colors of ribbon and some matching flowers! I used off white cardstock to make a 4.5" x 6" card - which is an odd size, but I like it a bit better than the normal A2 size, and it fits into a 5" x 7" envelope with some padding. Win-win!
The paper is from Graphic 45 Cottage Life Collection, which is a new to me collection. I purchased a pack of 12x12 paper in September after taking a class which used the 8x8 version. It is very pretty!  
I used some lovely ribbons and flowers from Really Reasonable Ribbon. The pink ribbon is 5/8" Light Coral Delicate Stitched Satin. The lavender dots ribbon is 3/8" Lavender Swiss Dots Grosgrain, which is half off right now! 
The flowers match the ribbon perfectly. I used 15mm Lavender Open Roses with some Mixed Purple Rosebuds, plus Pink Miniature Gardenias
The doily is a die cut using the same off white cardstock as the card base. I also cut out the word "celebrate" from the same cardstock using G45 sentiment dies. 

Thank you so much for joining me today!

Really Reasonable Ribbon Supplies Used:
Other Supplies Used: cardstock, printed paper, dies


Friday, April 15, 2022

Blessed Easter

 Good morning, Friends! Blessed Good Friday to you! I have a soft, spring-time card for you today!

I created a last minute Easter card by stamping a message inside. However, you could use this card for a sympathy card, birthday card, or friendship card by choosing a different sentiment. 

The card is 6" x 4 3/4" made from white cardstock. I trimmed a piece of plaid paper to slightly smaller than the card front and attached it with some double-sided tape. 
I printed the digital image onto white cardstock and colored the image with Copic markers. 
I trimmed the image panel to 5 1/2" x 4 1/4" and matted it with a piece of green cardstock.
Before attaching the image to the front of the card, I wrapped the corners with ribbon, making sure to securely attach it to the back of the panel. I then attached the image panel to the card with scor-tape.

I added a bow made from the same ribbon, plus a bow made from twine, a tiny flower, and some stamens. I love how spring-like this card turned out.  

Thank you so much for stopping by and have a truly blessed Easter!

Really Reasonable Ribbon Supplies Used:
Wild Orchid Craft Sweetheart Blossoms - Mixed Pink
Double Head Stamens - Light Pink
Scor-tape (1/2")

Other Supplies Used: Digital image by Power Poppy, Copic markers, Various cardstock and paper

Thursday, August 18, 2016

Helloo Deer

Hi all, it's Debbie here today.

I hope you all are having a wonderful week. It's been a good week so far and a little cooler here in Texas with temps in the 80's. :D  I hope you all are doing okay.
I am here sharing a card I created for some upcoming birthdays this fall so to start it off I created this masculine card.

I used a simple layout along with a couple of ribbons from Really Reasonable Ribbons that were perfect for this masculine card. I used 1.5" Brown Netting . I like how it added a bit of texture to the background and then I used the Textured Two-Tone Brown/Antique Gold with a gold button in the middle.
I really like how this card looks rustic.  It turned out really cool with the ribbons and paper together. And the deer photo coordinates perfectly with the Textured Two-Tone Brown/Antique Gold. I just love that ribbon, it's so pretty but adds a great touch to a masculine card.


  I used 1.5" Brown Netting as part of my background again. 
I think it adds a really nice texture to the inside of the card, too. 

Thank you all for stopping by today, I hope you are inspired to try some of this really lovely Netting, it comes in many beautiful colors you will love it and head over to take a look at other ribbons from the store  Really Reasonable Ribbons .
Hugs, 
Deborah xxx 

Tuesday, July 19, 2016

From Owl of Us

Hello there all,

It's Deborah here up on the blog today. Hope you had a great weekend. My weekend was pretty good.  I had my granddaughter over and visited with my kids. :D  and got some crafting done. 

I created this Happy Birthday card for my Really Reasonable Ribbon Blog post today using this month July monthly club assortment "Pink and Purple".  
Such a beautiful ribbon collection.

If you love ribbon and creating things with it, I suggest you join the monthly ribbon club. You will love getting a new ribbon selection every month, It's like Christmas. lol 

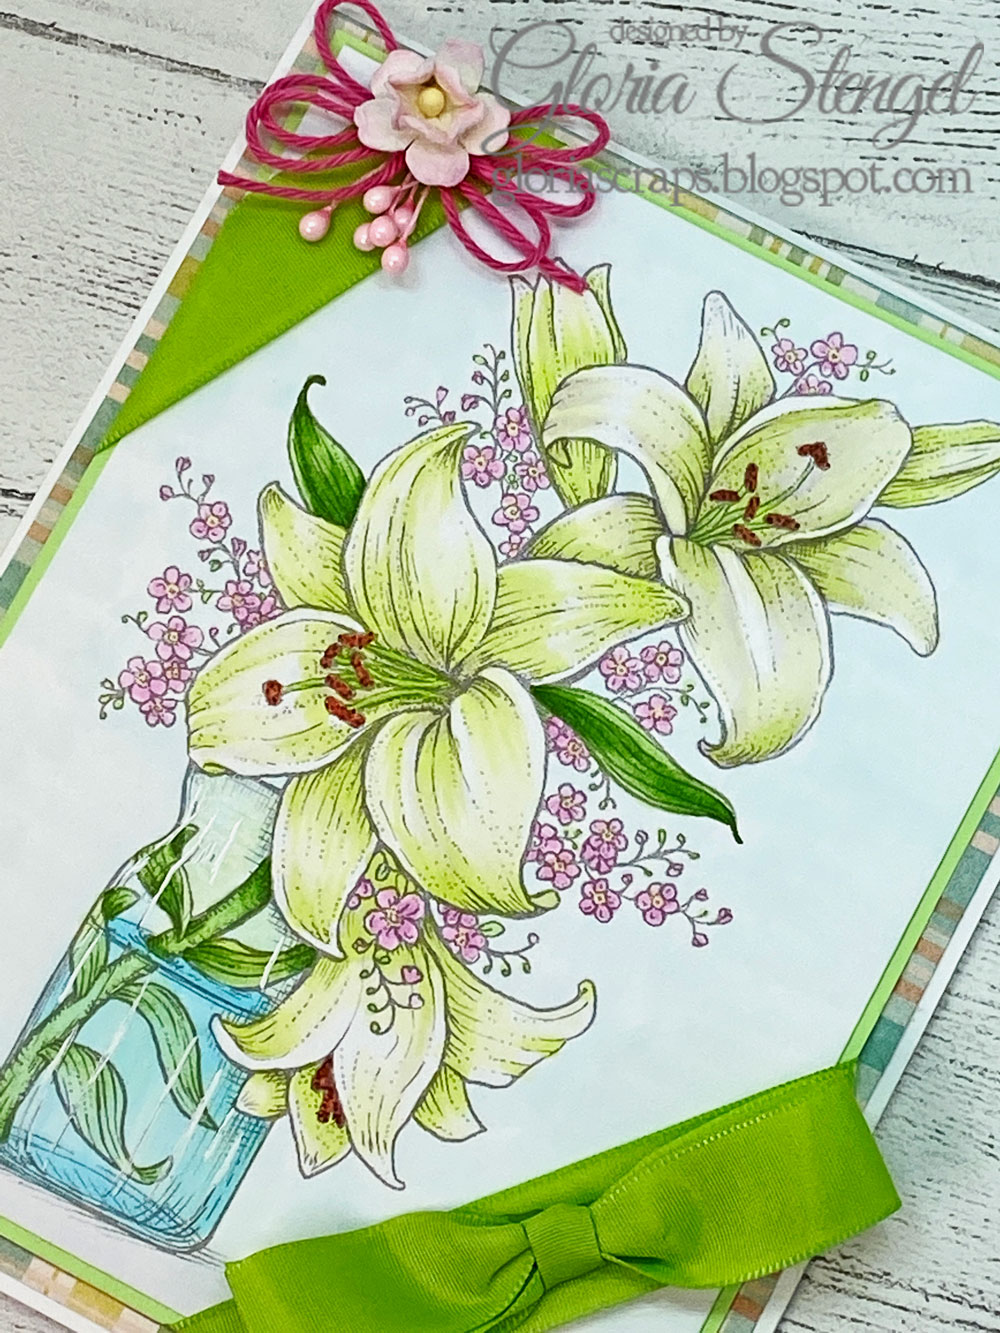
Well, here is my card and everything I used to create it with a small photo tutorial. 

First I used the following ribbon on the rosette - 5/8"Geranium Pink Taffeta Ribbon
I have been meaning to do a tutorial but I thought a few still shots might be good too. I plan on doing a tutorial with next months ribbons so stay tuned. :D 

Place some double sided adhesive on your paper and cut a circle (any size you decide). Then you want to pleat the ribbon going along the edge of the circle, it also reminds me like when you are fluting a pie crust. I get the middle of my ribbon and start pleating, I try to stay in the middle of the ribbon all the way around the circle but sometimes it gets a little wonky. With the double adhesive you can unravel and redo it. You can also use hot glue but be careful not to burn yourself and I am not sure if you can unravel the ribbon if you need to (I used the double adhesive cause I am always burning my fingers. lol )

Second photo: Once you reach the end of your circle cut your ribbon.

Get some glue and adhere. My favorite glue is glitter art glue. It's sticks great and dries pretty quickly.


For the front of the card I used 5/8"Lattice Print Satin Ribbon Geranium Pink
So here is the rosette all finished. I used a circle scallop punch and adhered it on top and then added my "happy birthday" on top of the that with the stickles out lining the words for some bling. :D 

Here is a close up.
I just love that the ribbons are so cheery, perfect for a girls birthday card. 
I used my  Bow-it-All V3.0 Tool to make the little bow 3/8"Wildflower Grosgrain Ribbon
that is such a cute little ribbon to have in your collection if you like flowers. 

For the inside of the card I did a little pocket with a tag showing all the owls on a tree limb. I thought I would write "From Owl of Us". :D and stick a little gift card in the back.  For the pocket and tag I used these ribbons. 3/8"Geranium Checkerboard Satin Ribbon3/8"Diamond Satin Hyacinth and used a punch to make my scallop edge on the pocket. 

  
Thanks so much for stopping by today and taking a look at my card creation. 
Hugs and Wishing you all a great week
Deborah xxx

Tuesday, June 28, 2016

You Are Amazing

Hey There Crafty Peeps!!

It's Deb here, I hope y'all are having a great day. Today I'm sharing a beautiful card I created using that "Luscious" ribbon from the June Ribbon Club Assortment.. Seriously love the colors that are in that Ribbon Assortment, they are so bright and cheery and what better way to give a card that has bright & happy colors all over it, right?? And of course, I gotta add some sparkle. :D

Aren't these colors Beautiful!
Monthly Ribbon Club, Domestic

I created this card using the Checkerboard Satin Tangerine ribbon that comes in the assortment or you can purchase it separately. It's just a gorgeous color!!


Here is a closer look at that Gorgeous ribbon. 
I created my bow with the awesome Bow-it-All V3.0
It really does come in handy and makes your bow making 
a lot easier, plus it comes with little scissors that cut the ribbon
 like butter, no kidding. Those scissors are awesome. 

Thank you all for stopping by today.To see all the supplies I used you can head over to my blog A Creative Life. And head over o the Reasonable Ribbon Store to see more of these beautiful ribbons.
I wish you all a great week and hope you also get to join in our up coming challenge so watch for that on Friday.

Hugs, 
Deborah xxx

Saturday, May 28, 2016

Secret Garden Miracles

Hi all, 
It's me Deborah,  sharing a card I created using two ribbons that look like one. 
As soon as I saw the White Satin double ruffle ribbon and the Ric Rac flowered yellow  I knew I had to try this idea that popped into my head. I was so excited that it worked and I love the way it looks! So now that I know it looks great, I totally gotta try the other colors. I hope you all try it too. 

So I used Graphic 45 Secret Garden Collection, 'cause I just had to use yellow and green, it's so pretty. I cut about a 6 inch piece of the White Satin double ruffle ribbon and Ric Rac flowered yellow took a piece of 1/4 inch score tape and adhered them together. I then tied a little white bow using the white satin double ribbon, I just love this ruffly ribbon, and cut a "V" on the edges of my tails. It turned out so cute.  I added my Wild Orchid flowers along with green leaves and that's it. Super easy card. I did do some fussy cutting, which was the little bird in the nest and layered the cut apart card on top. I found a little circle cutout in my stash inked it with powder puff inks. I placed some white corner stickers in the four corners. I really think these two ribbons created a beautiful look to the card along with the flowers. 
Ric Rac flowered yellow  adhered in the middle
and a tiny white bow. 
I also used Wild Orchid Flowers. I just love the White Cherry Blossom Flowers 
together with the Sweetheart Blossoms 2-toned Yellow is just beautiful 
along with the Green leaf ribbons tucked in a few spots. 
I love the green and yellow with white, it's one of my favorite color combos. 
I hope you enjoyed the card and try to use this idea for some of your projects. Thank you for stopping by and stay crafty. Don't forget to join our challenges. You can use this idea on one of your cards. 

Hugs 
Deborah xxx

Friday, May 27, 2016

Be Happy

Hooray! It's the weekend!

So does that mean more crafty time for you? Do you have a big picnic planned for the holiday? Whatever you do, I hope the sun shines bright on you and your loved ones! :)


When I first saw this image, the little girl's joy was so contagious! I couldn't help but pair her with the 'be happy' sentiment die! :)

And nothing says 'happy' like the color yellow, so I grabbed some of the cheery 5/8" maize taffeta ribbon to tie a big bow. a bit of light pink mini ric rac adds the perfect accent to the bow. One of my fellow DT members gives me a hard time for saving all of my little teeny tiny bits of ribbon, but doesn't the little pop of bright green swiss dot grosgrain look perfect here?! I thought so, too. tee hee!

A wonderful bouquet of assorted Wild Orchid Crafts mulberry flowers make a lush topper of sunshine!

For more info about this card, pop over to my blog at 'Just Coffee Please...'

And don't forget to play along in our current challenge!

Sunday, October 21, 2012

Celebrate The Moment!

Hi there! I am having a blast guest designing for Really Reasonable Ribbon this month. I use ribbon on nearly every card or project I create so how could I not be having fun!!!???


Today's card is simple but FUN! This month is the last month for the CPS Card Sketch blog and so I figured I would share my "farewell card" here as well.  I love using RRR Grosgrain Ribbon. It ties BEAUTIFULLY. It's weight is great for keeping the shape of the bows loops and tails just the way I want them. I used the Ivory Grosgrain today with just a bit of Hemp and a fun Coconut Shell Button from Buttons Galore & More. Sometimes layering your embellishments like I have here with the ribbon, the hemp and the button adds the oomph the final project really needs! What are your favorite embellishments to layer?


Wednesday, May 2, 2012

I'm Singin' in the Rain~

Ah! Singin' in the Rain - my favorite musical. And it's actually kind of fun to do too! Hope your spring is bringing lots of fresh rain -- and blue skies to your neighborhood!

My card today is made with some adorable little White Mini Ric Rac. The RRR Store has such sweet ric rac designs and assortments!
"Singin' in the rain....just singin' in the rain! What a glorious feeling, I'm happy again..."

It really is fun....watch Gene Kelly and then go do it next time it rains in your neighborhood~
Stamps: Under the Weather by There She Goes
Paper: Nikki Sivils DP, Barely Banana, Bashful Blue, Riding Hood Red. GP White
Ink: Memento Tuxedo Black, Copic Markers B00, E00, E15, E57, R20, R24, Y11, Y15, Y17
Accessories: Epiphany Crafts Shape Studio Round 25, Lil' Inkers Cloud dies, Diamond Stickles, ticket corner punch, Really Reasonable Ribbon White Mini Ric Rac


Saturday, March 31, 2012

You Shine


Hi everyone!  I hope you guys all had a fabulous week!  I can't believe it's the last day of March!  This year is flying by.  We've had some beauitful sunny weather down here in South Texas and it really has me in the mood for bright and sunny cards. 


It was so simple to make my pretty ribbon sun.
  1. Cut a 1-1/2" circle with your die cutting machine  or circle punch.
  2. Ink the edges of the circle....I used Tim Holtz
  3. Cut four pieces of  2"long Satin Ribbon Swiss Dot in Lemon
  4. Cut eight 2" long pieces of Lemon Double Faced Satin ribbon,
  5. Trim and heat seal the ends 
  6. Hot glue the ribbon pieces to the back circle
This starburst paper is from Echo Park - Splash and the sentiment is from Scrappy Moms. 

Thanks so much for stopping by!
Corri

Tuesday, February 21, 2012

Hello


Hi everyone!  I hope you guys all had a fabulous weekend.  I have pretty card to show you today that I made using two different ribbons.
 
I created the base of my flower by cutting a 1-1/2" circle on my Cricut.  I then made ribbon tabs from satin ribbon with scallop edges and hot glued them to the circle.  I added two layers of paper flowers from Michael's and a brown felt brad.  I created the stem by adhering a piece of moss green twill and then tying a second piece around the stem to create leaves.
This pretty paper is from My Mind's Eye.

I hope you like my flower card....thanks for stopping by!
Corri
 

Friday, February 3, 2012

Make a Perfect Bow!

Hi everyone, Bonnie here!!  I've made a few cards today using one of my favorite ribbons - Satin w/Grosgrain Edge from Really Reasonable Ribbon. 


I used 7/8" Satin w/Grosgrain Edge Ribbon and Pearls on each of my cards.  I used sketch SSS142 from The Sweet Stop Sketch Blog for my first card and Mailed My Heart Digital Stamp from Whimise Doodles.  This is a digi freebie, so head on over to Whimsie Doodles and take a look around and pick this cutie up.  As a newbie with Copics, I'm always looking for tips and there are some terrific video tutorials on coloring hair (among other things) at Whimsie Doodles, so be sure to take a look.

So, I spent hours happily coloring away and I ended up with 2 finished images that I thought came out really good (if I do say so myself - lol).  Of course I can't ever just be done, so I went ahead and stickled the wings on both images and set them at the edge of my counter on my little stand up clips (you can see what I mean below).  I left them over night to dry.  The next day I am happily working away and I nudged something and one of them falls over DIRECTLY ON AN INK PAD.  AHHHHHHHHHHHHHHHHHHHHH....  I let out a scream, but apparently screaming is a regular thing coming from my craft room because nobody even comes to see what happened!!  It was one of those slow motion things when your mind is screaming Noooooooooo - but you just can't stop it from happening.   Of course it was the one that came out best too.  Here's what I got:


I decided to make the best of it and use the part that I could.  It was a little too big of a problem to fix with a well placed button.  :)   I would have needed one HUGE button!


Here is a quick tutorial on how I make most of the bows for my cards:

Instead of trying to wrap the ribbon around the card and then tie a perfect bow, I cheat a little.  I use my Bow Easy Tool to make a bow and attach it to a strip of ribbon as shown below.

1.  For the ribbon stip that will go across your card, cut a piece a bit longer than the card.  Take a needle and thread and do a quick running stitch where you want the center of the bow to be. (I suggest using a thread color to match your ribbon.  I used a dark thread here to make it easier to see.)


2.  Pull the thread to neatly gather the ribbon and wrap the thread around a couple of times.  You can pull the gathers tight or leave them slightly loose depending on the look you want.  I left it a little loose.


3.  Take your bow that you've made using your Bow Easy Tool (or neatly tied by hand) and take a little stitch in the back of  the knot.


4.  Wrap the thread around the base ribbon strip and then take another stitch through the bow.  Repeat until you feel it is secure.


5. See how nice that looks!


6.  As a finishing touch you can use glue dots or your favorite adhesive to hold the bow loops and tails in place if they are not cooperating.


6.  There you have your perfect bow.


Give this a try and let me know how it works for you.

~ Bonnie ~

Friday, January 20, 2012

♥♥Kitty Bee Sweet♥♥

♥Hello everyone and Happy Friday to all!  It's Cheryl here with a card for today's RRR post. I've used 4 different Really Reasonable Ribbons on my card for today♥

♥♥Really Reasonable Ribbon I used:♥♥

♥♥So for the ribbon border I used the white satin gathered ruffled ribbon, and the red double ruffled edge ribbon and used both sizes of scor-tape to hold them together and on my card. For my tag I used the red double ruffled to tie and the mini satin swiss in lemon.
I made my bow with the Silky Crush in white, LOVE this stuff too!!! It makes such easy bows.

♥My Kitty Bee Sweet is a Cottage Cutz die and was meant to be a Bee, but I wanted her to be a LadyBug instead......hehehehehehee
All the hearts and tag are also Cottage Cutz die's.  

♥For my flower center I used a ladybug button.  For my Kitty I used RRR Black Pearls for the eyes and for the wings of my ladybug.

♥ The design paper I used is from My Little Shoebox and I'm soo in ♥♥♥ with this design paper!!!

♥I really had a lot of fun with this card today, and hope you enjoyed my post :) ♥
Have a wonderful weekend and thank you for looking!!
Hugs to all,
Cheryl