Showing posts with label Ribbon Club. Show all posts

Friday, December 30, 2022

Go On and Celebrate!

Hello, everyone! It is Gloria with you again! Well, it is almost a new year! Time to say good-bye to the old year and celebrate the new!

To celebrate, I decided to make a birthday card, which I will send to someone in 2023!

I made a slimline card that measures 4" x 9", which should just fit into a #10 (business-sized) envelope. I think next time I will make my slimline just a tiny bit...slimmer! 

I once again pulled some paper out of my stash which was still sealed up in plastic...a collection from Echo Park circa 2016! I mean...really, who does this?! Me apparently! 

I used more ribbon from the December Ribbon Club. I used some 5/8" Mineral Ice Taffeta (of which I need more!), and 3/8" Turquoise Satin Swiss Dots

I created the sentiment circle by embossing the sentiments with some gold toned embossing powder. I added some enamel dots and a button to look like...cupcake sprinkles. 

I also decorated the inside of the card. There is still room to write a message and to add a gift card!

My oldest brother has a birthday on January 1st, but I am not going to send this card to him...maybe I wills send him something a little more for an avid outdoorsman! {smile}

Thank you so much for joining me today!

Really Reasonable Ribbon Supplies Used:
Other Supplies Used: cardstock, printed paper, button, enamel dots, stamps, embossing ink and powder, circle dies


Friday, December 16, 2022

Christmas Time

Hello, everyone! It is Gloria with you again! I am back with one last Christmas card. It is time to get those cards in the mail! 

I am in love with this Heartfelt Creations paper pad, Holiday Star. It has beautiful blues and purples! I decided to combine them in this quick and easy card. The card is a standard A2 size ( 4.25" x 5.5") but it may need a bigger envelope to accommodate that fluffy bow!
I tied two bows, one from 5/8" White Double-faced Satin and one from 5/8" Hyacinth Diamond Satin. Both ribbons are part of the December Ribbon Club Assortment, Winter Carnaval

I used a large snowflake button to top the bows. A sparkly gem finishes it all off. 
I added a few sequins and gems to the snowflake designs on the paper, just for some added bling! I also trimmed a sentiment from the paper, making this a very simple card to put together. 

Thank you so much for joining me today!

Really Reasonable Ribbon Supplies Used:
Other Supplies Used: cardstock, printed paper, sequins, gems, button


Monday, October 31, 2022

Merry and Bright

Hello, everyone! It is Gloria with you again! Back in June, I shared THIS card and in September THIS card, where I showed you how to use up your leftover ribbon bits. I decided to do it again with the October Ribbon Club Christmas Assortment!

This is such a special card that would be perfect to include with a gift card this year! I love to have a selection of extra-special cards for just that purpose. It makes giving a gift card seem like so much more than a piece of plastic.
I created a 5" x 6" card from black cardstock. Then, I cut a piece of white cardstock to slightly smaller than 5" x 6". I used black ink to stamp a Christmas sentiment onto the bottom right of the white panel. I then added some Scor-tape to the back so that I could wrap short lengths of ribbon around the cardstock panel and secure them. 


Note: The Forest Green Plaid in the Ribbon Club is the 5/8", but the store does have the 3/8" that I used. Also, the Christmas Traditions Plaid is NOT in the club assortment, but is available in the store, just use the link above. 
Once all the ribbon was attached, I added more Scor-tape and attached the whole panel to the card front. 
I created a bow from the 5/8" Red Plaid ribbon and attached it to the area overlapping the the Red Plaid ribbon on the card. Then, I added some flowers and Christmas bells, plus some other Christmas floral items (see list of flowers below). I use hot glue to attach all my bows and flowers to my cards. 
I finished the card by adding a few sparkly enamel dots. Have you tried this technique yet?! If you have, please post your link in the comments so I can stop by and see! 

Friday, August 19, 2022

I Love Fall!

Hello, again everyone! It is Gloria with you today. It is so hot where I live, over or near 100 degrees every day. I am so thankful for air conditioning and a swimming pool! But, I am so ready for cooler weather, but I know that we still get lots of days in the 90's even in October and November! I think I will go crank the A/C and drink something with pumpkin spice....

I have a fall themed card for you, using more of the beautiful August Ribbon Club ribbons! This is another 6" x 6" card, which is one of my favorite sizes to make. I don't care if they cost more to mail, I love making them! 

The pumpkin paper and the sticker are from the Echo Park The Story of Fall collection (from a few years ago), and the orange gingham paper is from The Girls' Paperie Toil and Trouble collection (which is who knows how old!).

The "wood" grain is actually a piece of chipboard that I had die cut to make a mini book, but the project failed. I salvaged some parts, and this piece of scored chipboard covered with distress ink...looks just like wood! Keeper!

Now, for the ribbons! I wrapped both a length of the 5/8" Russet Orange Taffeta and a length of the  3/8" Cappuccino Satin with Gold Metallic Edge around the top part of the card. I secured the ribbon inside the card, then covered with white cardstock to hide the ribbon tails. 

I created two bows, one from each ribbon style and glued them to the center of the card as shown. Super easy! Big impact!

I even put a little sneaky surprise on the inside of the card. {smile}

Thank you so much for stopping by!


Really Reasonable Ribbon Supplies Used:

Other Supplies Used: dark brown cardstock, white cardstock, chipboard scrap, printed paper, stickers, distress ink, hot glue

Friday, July 29, 2022

Just Celebrate!

Hello, again everyone! It is Gloria comin' at you! I have been trying some different (for me) techniques lately. I am really rusty at stamping and such after taking so much time off, but I have so many supplies that are sitting around unused! I decided to try at least one new technique (or to revive an old technique) each month! Here is one for this month!

To create the lattice background, I first used a blender brush and several shades of Ranger Distress Oxide Ink to cover white cardstock. I blended the ink until the surface was well saturated. Then I sat the panel aside to dry. 

Once the oxide ink was dry, I placed the cardstock into an embossing folder and ran the folder through my die cut machine. I added a thin shim in order to get a nice, deep impression. I used a blender brush and Ranger Distress Picket Fence ink to rub some of the white ink over the raised parts of the embossing! So pretty!

I trimmed the embossed panel to 5 3/4" x 5 3/4" and matted it with white cardstock cut to 5 7/8" x 5 7/8".  I then cut a large banner from dark blue cardstock and a smaller banner from a scrap of checked paper (Graphic 45 Cafe Parisian Petits Fours). I attached the banners to the left side of the embossed panel. 

Then I wrapped the panel with 5/8" Pink and Blue Vintage Floral Print on White Satin ribbon. I attached the panel to a 6" x 6" dark blue card base.
I created a bow with the rest of the 5/8" Pink and Blue Vintage Floral Print on White Satin ribbon and glued it to the card as shown. I tucked a chipboard embellishment under the edge of the bow. 

The little sentiment is a pre-printed sentiment from Simon Says Stamp. 

Super simple, but so pretty! Thank you so much for stopping by!

Really Reasonable Ribbon Supplies Used:

Other Supplies Used: White Cardstock, printed paper, pre-printed sentiment, ink, die cuts, embossing folder, decorative chipboard


Thursday, May 26, 2022

Let Freedom Ring

Hello, again Ribbon Friends! I am still making great use of the May Ribbon Club (Patriotic Assortment)I just cannot stop making patriotic projects! I do have loads of other ribbon, but it has been two years since I made anything for 4th of July, so this ribbon club went to my head!

I created a 5 1/2" x 4 1/4" card out of red cardstock. I don't normally make cards in this orientation, but I really wanted to use the USA die cut that I found hiding in my stash!

I die cut the states outline (except for Alaska and Hawaii) from blue cardstock and very, very carefully glued it to the white panel. That thing was fragile! 
I then die cut just a few states out of some scraps of collage paper and inserted them into their spots on the map. I only used the states where my husband and I have lived since our marriage. I die cut a blue frame to place around the USA die cut to keep it from "floating" on the page. 

Next comes the ribbon! 
I made a loopy bow out of the 3/8" Random Stars Patriotic Satin ribbon and glued it to the corner of the card. I then made another loopy bow from the Air Mail Baker's Twine. I glued the twine to the top of the ribbon. Then I needed to hide a bit of a hot glue blob...so I added a White Pearl Star to the top.
The other corner needed something, too so I added a digital sentiment, die cut into a banner shape to the upper right corner. I topped the banner with more Air Mail Baker's Twine and another White Pearl Star.

I use the Bow-it-All tool to make all my bows! So fast and easy!
I hope you have enjoyed all my patriotic creations this month! 

Thank you so much for stopping by!

Really Reasonable Ribbon Supplies Used:

Other Supplies Used: Cardstock, decorative paper, digital stamp, die cuts, hot glue, ATG, foam squares

Thursday, May 19, 2022

Liberty Dwells Here

Hello, Ribbon Friends! I loved the May Ribbon Club (Patriotic Assortment) so much that I decided to make another project with some of the ribbon! There is so much ribbon in each of the Ribbon Club Assortments that I can never use it all up in one sitting, so I keep the package on my desk for a month or so to see how much of it I can consume before putting it away! 

I created a 4 1/4" x 5 1/2" card out of blue cardstock. I found some patriotic paper in my stash and a very old star embossing folder found its way onto the desk, too! The sentiment is a digital stamp (Power Poppy) that was just begging to be used with these scrumptious ribbons!
I created a big, loopy bow out of the 5/8" Red Diamond Satin ribbon. I then made two smaller bows with the 3/8" Patriotic Strips on Satin ribbon. I used hot glue to glue all the bows together in a nifty stack!

I added the flowers and a sparkly star to the cluster. I think the red flower is perhaps an out of stock item, but you could substitute a Red Trellis Rose instead. I added one Ivory Open Rose (15mm) and one Royal Blue Open Rose (15mm) to the flower cluster.
I love this patriotic creation! With Memorial Day, Flag Day, and Independence Day coming soon, I will have lots of cards to choose from to either mail or to decorate my desk! 

Thank you so much for stopping by!

Really Reasonable Ribbon Supplies Used:
Scor-tape (1/2")

Other Supplies Used: Cardstock, decorative paper, embossing folder, digital stamp, sparkly star embellishment, circle die cuts, hot glue, ATG, foam tape  

Monday, July 15, 2019

Umbrella Drinks Tropical Tri Fold Folio

Hello, Ribbon Lovers!  Why don't you come sit by the pool for a bit and sip on a refreshing beverage while I tell you all about this fun little folio?


This 5 1/2" square folio feels like a summer pool party .  I've surrounded the center shaker box with pretty white flowers, chipboard elements, loopy Ivory Burlap String bow,  and a vibrant Apple Green Sheer Ribbon with Satin Center Bow.  The ribbon is part of the Sizzlin' Summer Ribbon Mix from the July Ribbon Club.  People, these are the colors of summer!  


The Acid Green Random Dot Grosgrain Ribbon from the Ribbon Club adds a punch of summer color to the little tags that I've scattered throughout the folio.  I've also used it to make borders on my pockets.  


When fully opened, this little folio looks and feels like a party is going on!  From left to right we have a waterfall page, a pocket with photo mount inserts, a dimensional treat/tag pocket and a magnetic flip page.


After topping each little tag with ribbon, I've adhered the bottom edge to the page so that a photo can be tucked in behind. 

The pocket page is decorated with a cute little fussy cut banner.  I've tucked 4" x 4" photo mounts into the pocket.


The flap page is decorated with  tropical chippies and has a magnetic closure.


Look how cute the Acid Green Random Dots ribbon looks as a border on the pocket page inside the flap!  I just love adding ribbon to the inside of a project like this.  


The center treat pocket hosts a trio of tags: two large pocket tags and one petite tag.  Adding a bit of ribbon to the top of the tags really makes them look finished.


I hope your summer has been filled with fun and a little poolside relaxation!

Thanks for stopping by!

Cheerio,
kathy

Monday, June 25, 2018

Shaking Things Up with Really Reasonable Ribbon

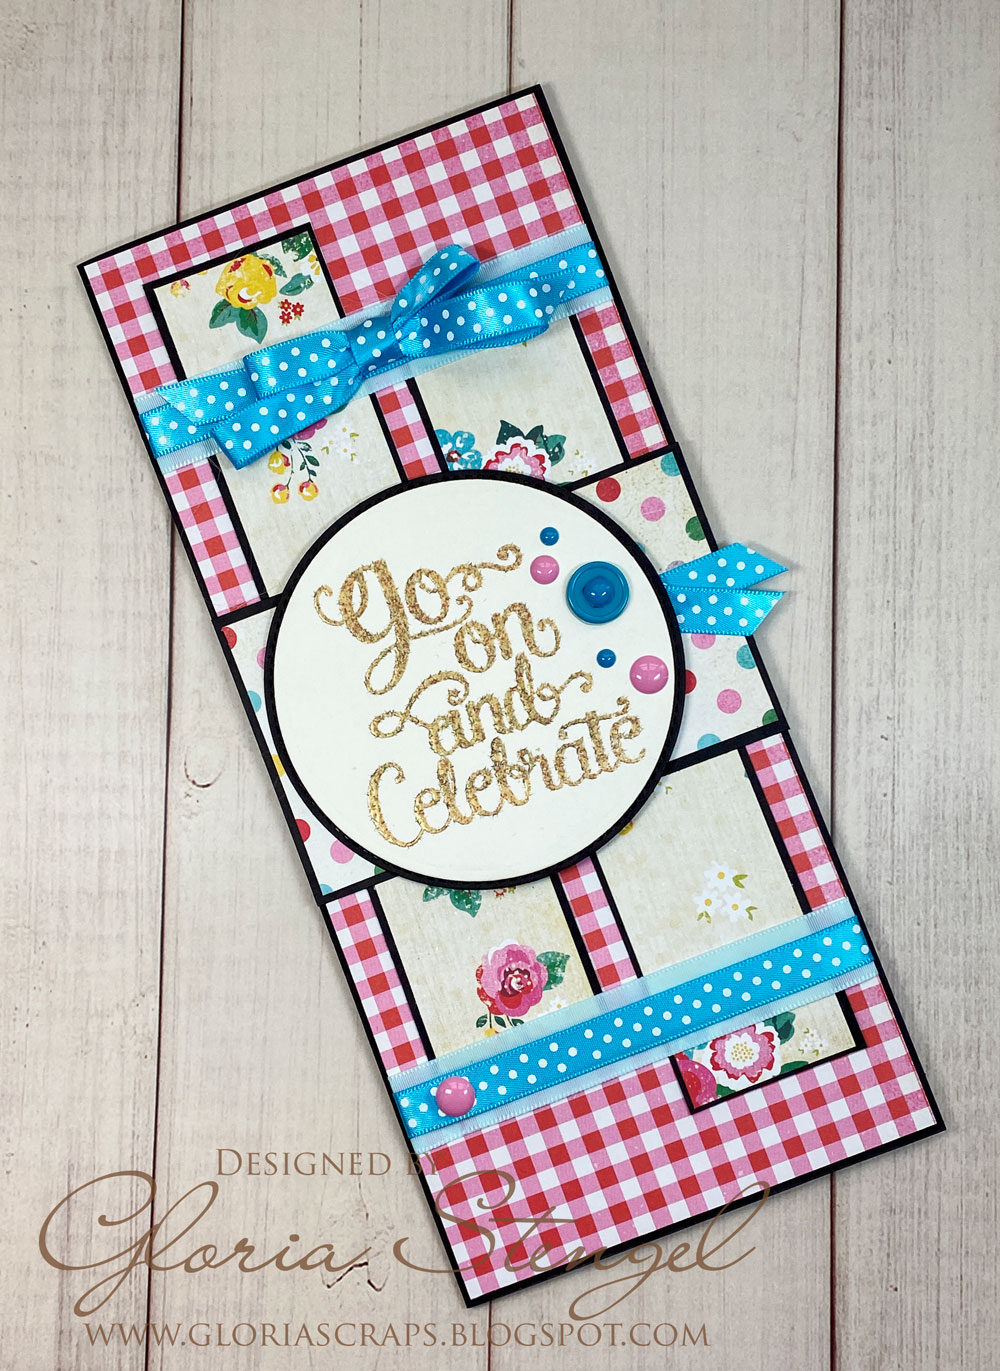
Hello, Ribbon Lover's !  It's Kathy here today with some fun ways to use ribbon.


Of course, we all love to add texture, dimension and pattern to our cards.  Beautiful bows are the easiest way I know of to do this.   This Sherbet Checkerboard Satin Ribbon ties beautiful bows!  Top it with some Silver Metallic String and you've added another layer of texture and shine.


But ribbon also makes a beautiful border added to the top or side of a card.  This 5/8" Vintage Floral Print Satin Ribbon looks great layered down the side of the card.  Using 1/2" Scor-Tape makes this really quick and easy to do.


Ribbon looks great inside a card, too!  I love this sweet little border strip and bow made with 3/8" Pink and Purple Vertical Stripe Grosgrain Ribbon. It makes this card feel like a party is going on!


Add a ribbon border to this little gift tag, top it with a Sherbet Checkerboard Satin Bow, and you're really rocking the ribbon!  A scrap of that Vintage Flora Print ribbon looks great tied onto a honey stick, too!


Ribbon also makes a great closure for this gift card holder.  I attached 3/8" Shocking Pink Quatrefoil Print Satin to the back of the gift card holder with 1/4" Scor-Tape.  After the ribbon is attached, use more Scor-Tape to adhere it to the card base.  Tie a bow, and you've got a mighty cute gift card holder!


Here's a peek at the inside.

I hope I've shared some fresh ideas for ways to use ribbon in your card making adventures.  You can find all the ribbons used here in the RRR June Ribbon Club Assortment.

Thanks for stopping by!
Cheerio,
kathy