
Hello, again everyone! It is Gloria comin' at you! I have been trying some different (for me) techniques lately. I am really rusty at stamping and such after taking so much time off, but I have so many supplies that are sitting around unused! I decided to try at least one new technique (or to revive an old technique) each month! Here is one for this month!

Once the oxide ink was dry, I placed the cardstock into an embossing folder and ran the folder through my die cut machine. I added a thin shim in order to get a nice, deep impression. I used a blender brush and Ranger Distress Picket Fence ink to rub some of the white ink over the raised parts of the embossing! So pretty!

Then I wrapped the panel with 5/8" Pink and Blue Vintage Floral Print on White Satin ribbon. I attached the panel to a 6" x 6" dark blue card base.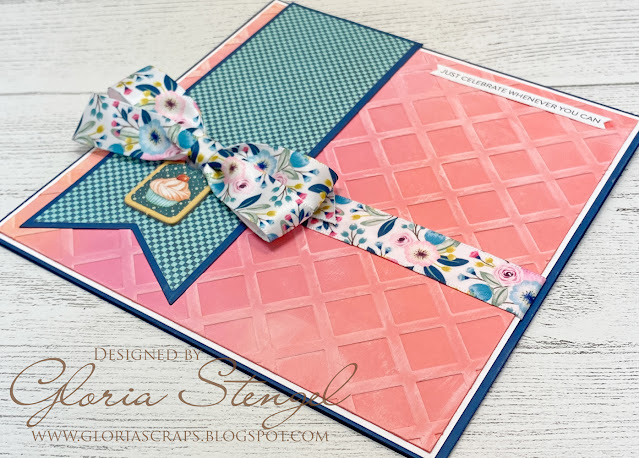 I created a bow with the rest of the 5/8" Pink and Blue Vintage Floral Print on White Satin ribbon and glued it to the card as shown. I tucked a chipboard embellishment under the edge of the bow.

The little sentiment is a pre-printed sentiment from Simon Says Stamp.

Super simple, but so pretty! Thank you so much for stopping by!

Really Reasonable Ribbon Supplies Used:
Other Supplies Used: White Cardstock, printed paper, pre-printed sentiment, ink, die cuts, embossing folder, decorative chipboard


No comments :
Post a Comment
We'd love to hear what you have to say