Showing posts with label Birthday Cards. Show all posts

Wednesday, October 16, 2024

Happy Birthday to You Greeting Card

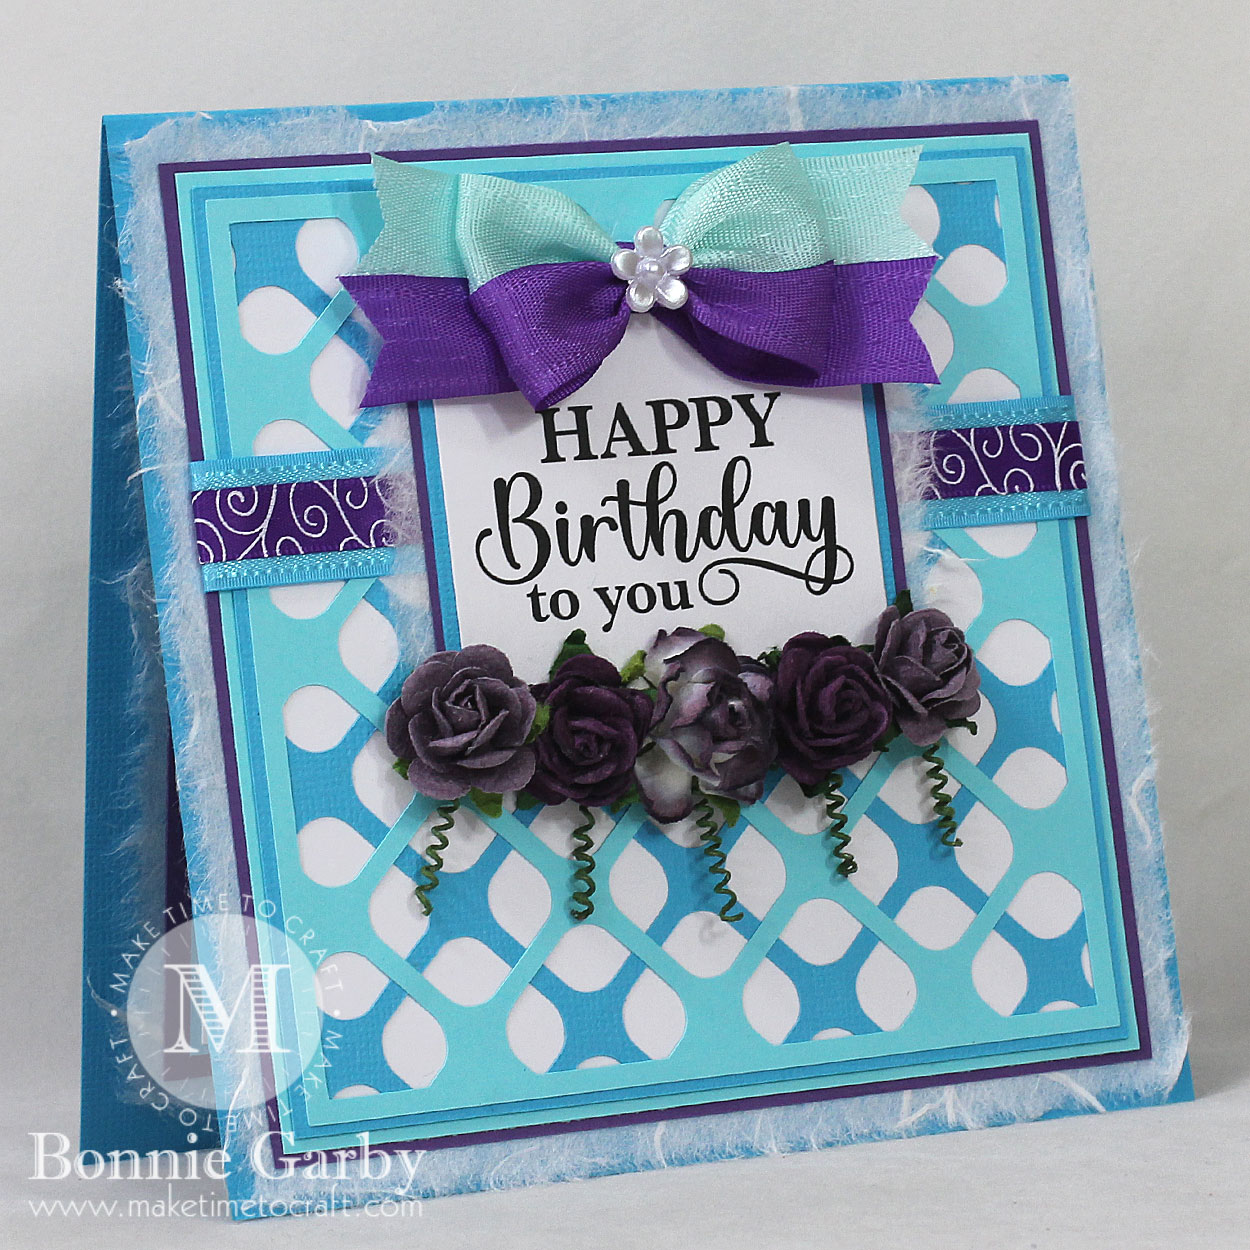
  Hello friends.  Today I'm sharing a birthday card I made for a sweet friend.  It's embellished with some lovely ribbons and mulberry flowers from Really Reasonable Ribbon and the digital sentiments are from Bonnie Garby Designs. 


I created a 5-1/2" square card with a few layers. My digital sentiment from our sister company Bonnie Garby Designs is my main focal point.  I ran a piece of regal purple Delicate Stitched Satin Ribbon topped with Crosshatch on Turquoise Satin Ribbon across the center of the card under the sentiment.  I added some pretty turquoise Sweetheart Blossoms under the sentiment panel.


The sentiments I used on my card today came from the Birthday Greetings 2 Digital Stamp Bundle along with the Birthday Sentiments for the Inside Bundle which I used for the interior sentiment. The background for the card was created using the Delicate Woven Overlay SVG Cut File Bundle.


Our sister company 'Bonnie Garby Designs' is offering a large variety of digital sentiment stamps and svg files.  Below are the digital stamp bundles I used on my card today. 


********************
For a video tutorial on how I use mulberry paper, please click HERE.

My card is topped off with a pretty bi-color double loop bow created on my Bow-it-All V3.0 Tool using turquoise and regal purple Delicate Stitched Satin Ribbon.

For a video tutorial on how to create this fun bow, please click HERE.


Thanks so much for stopping by today.  Don't forget to stop by and visit me on my Make Time to Craft Blog too.  Have a crafty week!

Friday, March 15, 2024

Eat Cake Fun Fold Card

Hello crafty friends, and Happy Thursday to you all! Cheryl here today with a fun fold Birthday card to share that Ive created for Really Reasonable Ribbon and KaDoodle Bug Designs. I used the Beautiful Satin ribbon for my bows in two different sizes. 

So my card today I designed using 6" x 12" pink card stock and scored at 6" and then 9" and then fold the 6" valley, and 9" mountain fold. Next I cut another piece of pink card stock that measures 5" wide, and 6" tall. that will be the front of the card. Then decorate. I used the darling Unicorn from KaDoodle Bug Designs and added a different muzzle and different eyes from another SVG from KaDoodle Bug. I use the matching tag and then some beautiful Satin Ribbon from Really Reasonable Ribbon , 5/8" and 3/8" Pink , to put my card together I used foam tabs & scor-tape , and then foam dots. For the pink dew drops I used Robins Nest Dew drops. Ooo don't forget the sewing, I just had to add that too. 


Friday, February 10, 2023

Clean and Simple and FLAT for Mailing Birthday Card

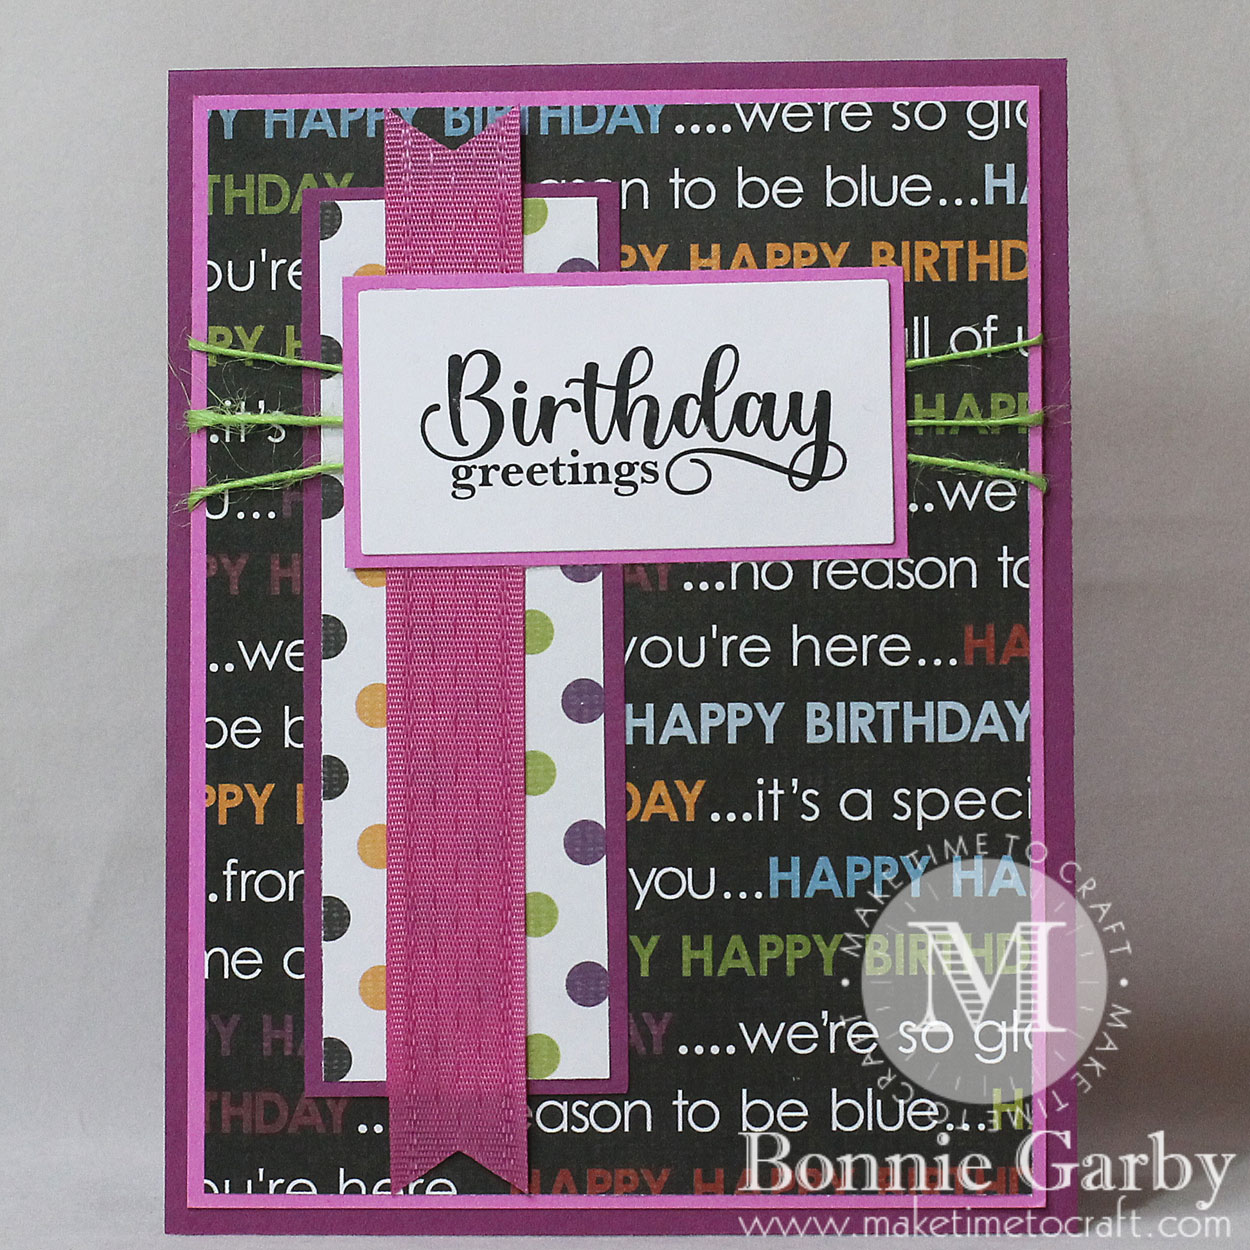
Hello friends.  This card is different from my usual style, but sometimes I need a pretty birthday card that I can mail in a regular envelope.  This one fits the bill and it's embellished with my favorite ribbon and burlap string from Really Reasonable Ribbon.

I created a 4-1/4" x 5-1/2" top fold card with minimal layers. My digital sentiment from our sister company Bonnie Garby Designs is my main focal point.  I ran a piece of Delicate Stitched Satin down the left side of the card and wrapped some contrasting burlap sting across the middle under the sentiment.  This is a great way to use up all those ribbon and trim 'bits and bobs'.

I finished of the inside of my card with the Birthday Greetings 2 'For the Inside' Digital Stamp Bundle.

Our sister company 'Bonnie Garby Designs' is offering a large variety of digital sentiment stamps and svg files.  Below are the two sets I used on my card today.  This Birthday Greetings 2 set also works well for foiling.


*************************


Thanks so much for stopping by today.  Don't forget to stop by and visit me on my Make Time to Craft Blog too.  Have a crafty week!


Monday, January 30, 2023

Happy Birthday to You Card

Hello friends.  I don't know about you, but I feel like I can never get ahead with birthday cards!  Now is the perfect time to make some to put aside for your future needs and don't forget to stop by Really Reasonable Ribbon for all your ribbon and mulberry flower needs!

I created a 5-1/2" square top fold card created with my usual layered look. My digital sentiment from Bonnie Garby Designs is my main focal point with a layered strip of ribbon running under it.  I topped it off with a pretty double loop bow and I added a few pretty Mulberry Rose flowers along the bottom of the sentiment panel.

I finished of the inside of my card with one of the sentiments from the Birthday Greetings 2 'for the inside' Digital Stamp set.  This set makes it a breeze to finish of the inside of your cards!

Our sister company 'Bonnie Garby Designs' is offering a large variety of digital sentiment stamps and svg files.
You can find all of the sets at Bonnie Garby Designs, or the bonniegarbydesigns Etsy shop.


My card is topped off with a pretty bi-color double loop bow created on my Bow-it-All V3.0 Tool using two colors of Delicate Stitched Satin ribbon from Really Reasonable Ribbon. The center of the bow is finished off with a pretty acrylic daisy flower bead.


For a video tutorial on how to create this fun bow, please click HERE.

Thanks so much for stopping by today.  Don't forget to stop by and visit me on my Make Time to Craft Blog too.  Have a crafty week!


Friday, December 30, 2022

Go On and Celebrate!

Hello, everyone! It is Gloria with you again! Well, it is almost a new year! Time to say good-bye to the old year and celebrate the new!

To celebrate, I decided to make a birthday card, which I will send to someone in 2023!

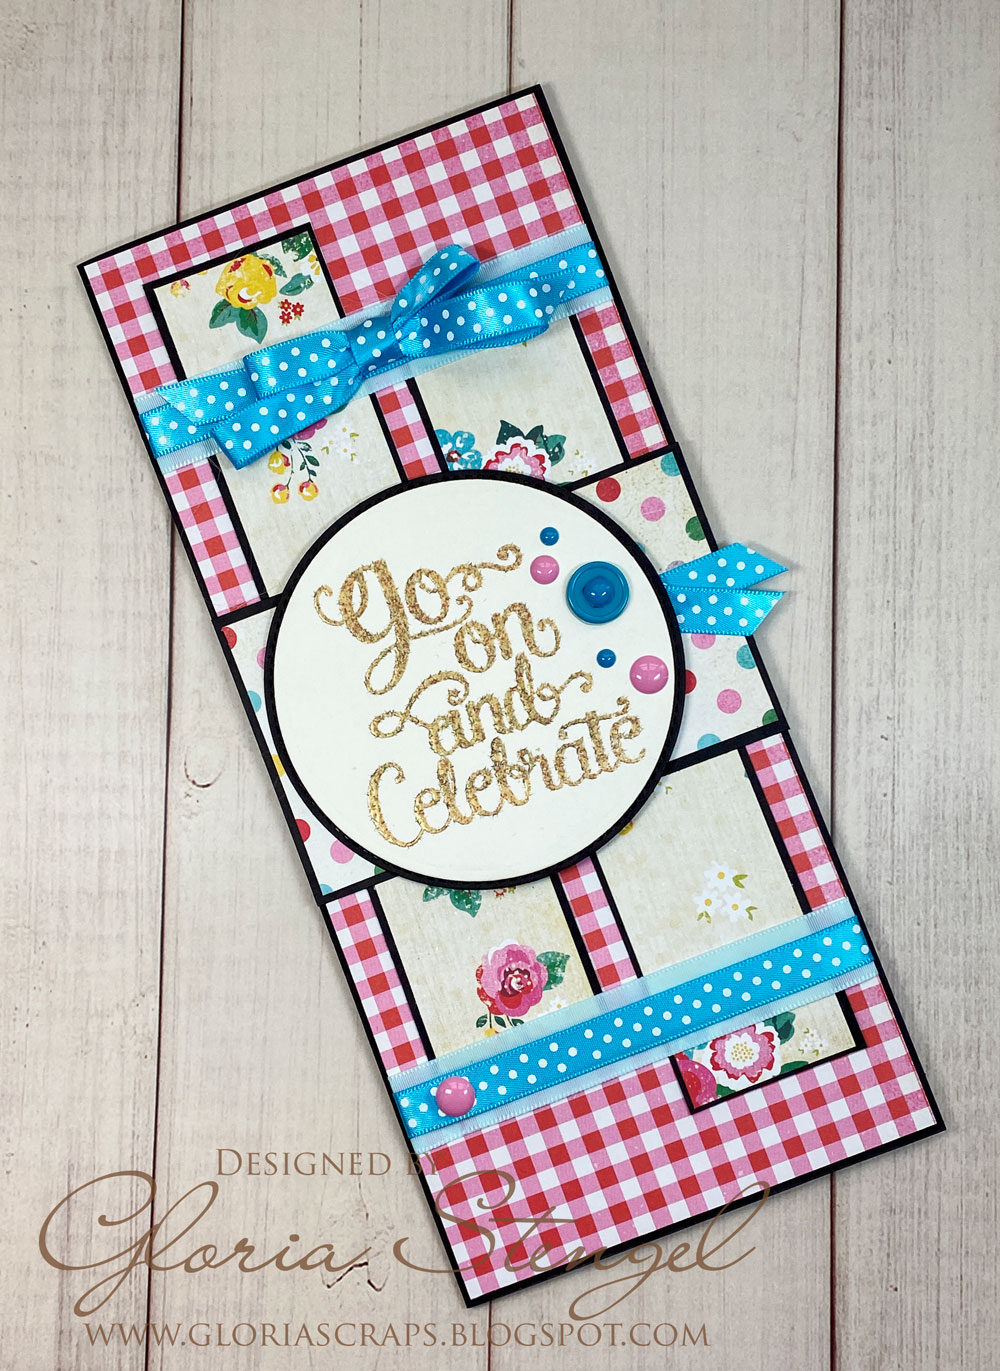
I made a slimline card that measures 4" x 9", which should just fit into a #10 (business-sized) envelope. I think next time I will make my slimline just a tiny bit...slimmer! 

I once again pulled some paper out of my stash which was still sealed up in plastic...a collection from Echo Park circa 2016! I mean...really, who does this?! Me apparently! 

I used more ribbon from the December Ribbon Club. I used some 5/8" Mineral Ice Taffeta (of which I need more!), and 3/8" Turquoise Satin Swiss Dots. 

I created the sentiment circle by embossing the sentiments with some gold toned embossing powder. I added some enamel dots and a button to look like...cupcake sprinkles. 

I also decorated the inside of the card. There is still room to write a message and to add a gift card!

My oldest brother has a birthday on January 1st, but I am not going to send this card to him...maybe I wills send him something a little more for an avid outdoorsman! {smile}

Thank you so much for joining me today!

Really Reasonable Ribbon Supplies Used:
Other Supplies Used: cardstock, printed paper, button, enamel dots, stamps, embossing ink and powder, circle dies


Friday, September 9, 2022

Happy Birthday card

 
Hello crafty friends and Happy Friday to you all! Today's happy birthday card was designed for Really Reasonable Ribbon and for a friend who needed a birthday card so I made 2 for her to choose from. I'm loving these colors together and have used this design paper and flowers on other items as well. 
so for my card I chose to use 3 different design papers for the front, and then the chevron for the inside. I added 5 layers to the front, and then decorated using the gorgeous flowers from Really Reasonable Ribbon. I love the large chrysanthemums that RRR has to offer, and there are so many colors and assortments to choose from. Next I chose to use the Red Open roses, and then the yellow
Really Reasonable Ribbon supplies used:
Open Roses Mixed Color 20mm for the greenish blue color
other items used, hot glue, sewing machine, dew drops, stamps from stampinup!, dies, ink, white paint pen

Thank you so much for stopping by and have a lovely day!
hugs to all,
Cheryl


Monday, July 25, 2022

Happy Birthday Card & Video

Hello Crafty friends, and Happy Monday to you all! Today's card was designed for Really Reasonable Ribbon and was gifted to one of my friends for her birthday. I used lots of fun flowers from the RRR shop and beautiful ribbons as well.
For my card for today I chose to decorated using lots of flowers and ribbons to match last weeks Picnic Basket, as these were both gifts that I gave to a dear friend. I also have a video below for viewing, hope you like! 
Really Reasonable Ribbon Supplies Used:

Thank you for looking and have a lovely day! Also hope you enjoy my video, please let me know what you think, I always love hearing from you all!


Hugs, Cheryl


Wednesday, June 29, 2022

Best Wishes

Hello, again everyone! It is Gloria with you again! I had a bit of fun with the hot, tropical, June Ribbon Club - Jungle Fun Assortment! 

I was going to put this ribbon assortment away, but then I decided that I would make one more card with it before I moved on to the July Ribbon Club. I had a few short bits of the Watermelon Delicate Stitched Satin and the Toucan on White Satin that were not long enough to make a bow, but too long to feel good about tossing in the trash. I really don't like keeping every bit and scrap because I have so much ribbon! But I do hate to toss those 6"-10" bits!

I also had on my desk two cards that I had made a long time ago using some paper strips. I thought...hey, why not remake one of those cards, but using ribbon instead of strips of paper?!?

I created a 5" x 6" card from black cardstock. Then, I cut a piece of kraft cardstock to slightly smaller than 5" x 5" and added some Scor-tape to the back so that I could wrap short lengths of ribbon around the cardstock panel and secure them. I just alternated the ribbons: Watermelon Delicate Stitched Satin, Toucan on White Satin, Turftan Taffeta, Iguana on Branch White Satin, Watermelon Delicate Stitched Satin, Yellow Gold Plaid, Toucan on White Satin, and Moss Plaid. (And I wish I had eliminated the brown ribbon, but, oh well.)

Once all the ribbon was attached, I added more Scor-tape and attached the whole panel to the card front. I then cut another piece of the kraft cardstock to slightly smaller than 1" x 5" and stamped the sentiment with black ink onto the left edge. 
I created a bow from the Moss Plaid and added lots of flowers (see list of flowers below). The leaves are hand colored with water-based markers! I used the White Paper Leaves and colorized them! To color the leaves, I first spritzed each leaf with a bit of water. Then I scribbled on them with various water markers. Once I had lots of color, I used a water brush to smoosh the color around. I dried the leaves with a heat tool. 
I finished the card by adding a few enamel dots here and there. I think this a great way to use leftover bits of ribbon! 

Thursday, January 27, 2022

Bright and Colorful Birthday Card

Hey there ribbon lovers!  Today I'm sharing a brightly colored birthday card featuring some of the ribbons from the January Ribbon Club Assortment from Really Reasonable Ribbon.


I just love love love this color palette, don't you?!! 
Just because January is a Valentine themed ribbon collection, doesn't mean that's all it's good for!

Not a Ribbon Club member yet? 
Why not grab the December/January Ribbon Club Special Deal?!  
Just $17.50 for both if you are located in the USA.

I created a 6-1/2" x 4-3/4" top fold card created with my usual layered look. My digital sentiment is my main focal point, topped with a pretty bi-color double loop bow and I added a few pretty Open Rose flowers along the bottom of the oval sentiment panel.

For a video tutorial on how I use mulberry paper, please click HERE.

My card is topped off with a pretty bi-color double loop bow created on my Bow-it-All V3.0 Tool using two of the ribbons from the January Ribbon Club Assortment from Really Reasonable Ribbon. The center of the bow is adorned with a pretty Heart Shaped Pearl Embellishment.

For a video tutorial on how to create this fun bow, please click HERE.

Thanks so much for stopping by today.  Please be sure to visit me on my Make Time to Craft Blog too.  Have a crafty week!