
Hello, everyone! It is Gloria with you today. Thank you so much for joining me today! I want to talk about bows...because I use a lot of them! I not only use bows on my cards and mini albums, but occasionally on scrapbook layouts, and most definitely on off the page creations, but my new favorite way to use ribbons and bows is on counted cross stitch projects!


Note: My stitching is 5 5/8" x 5 3/8", so I cut the chipboard to 6 5/8" x 6 3/8".
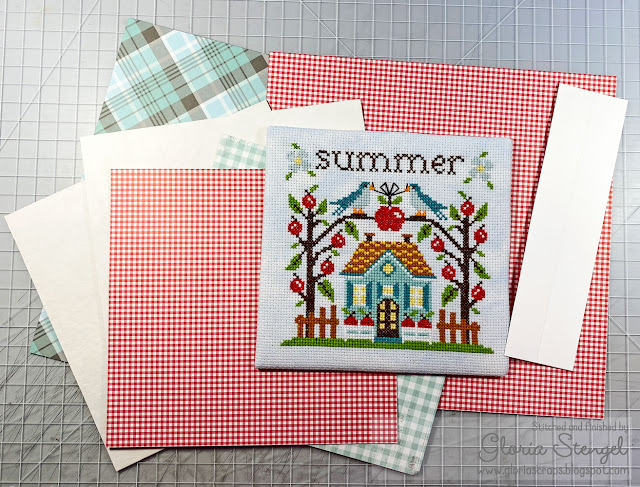 Next I cut two more pieces of chipboard for the easel. Both pieces are 7 5/8" x 7 3/8". I also cut a piece of sturdy white cardstock to 7 5/8" x 2" and scored it at 1" on the two-inch side to make a hinge.

I cut two pieces of printed paper to 9 5/8" x 9 3/8" to wrap the chipboard. I then cut two more pieces to 7 5/8" x 7 3/8" to cover the backs of the wrapped pieces. Once assembled it is a paper covered, chipboard easel.

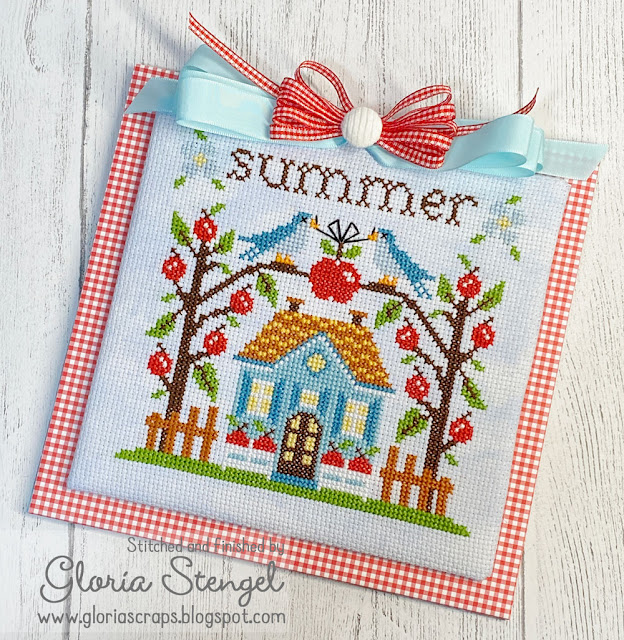
I then chose some ribbons for my bow, trying to color match the thread I used for stitching.
 I used 5/8" Mineral Ice Taffeta ribbon to create a wide bow with three loops. The bow is nearly six inches wide! Next I created a smaller bow from 3/16" Red Plaid ribbon, which also comes in the 3/16" Plaid Assortment. I like buying the assortments when there is something I want to try, but I am not sure I want to buy a lot of it yet. The 3/16" ribbons are a YES, and I plan to buy more colors and styles!
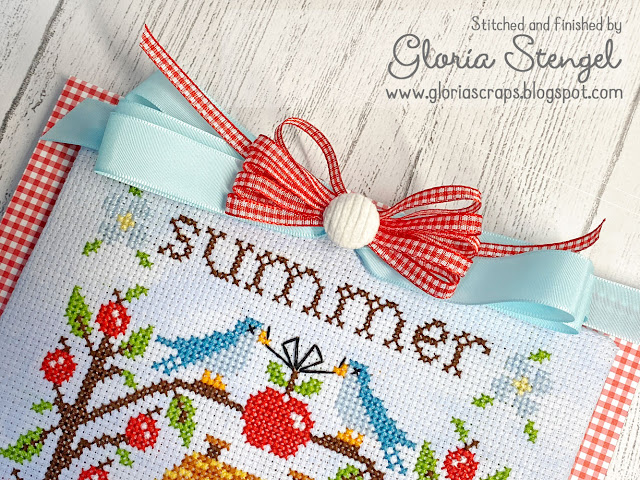 The smaller bow has five loops and measures about three inches. I hot glued the plaid bow to the longer, blue bow. Then, I cut the prongs off a cloth covered brad, and glued it to the top of the bows.
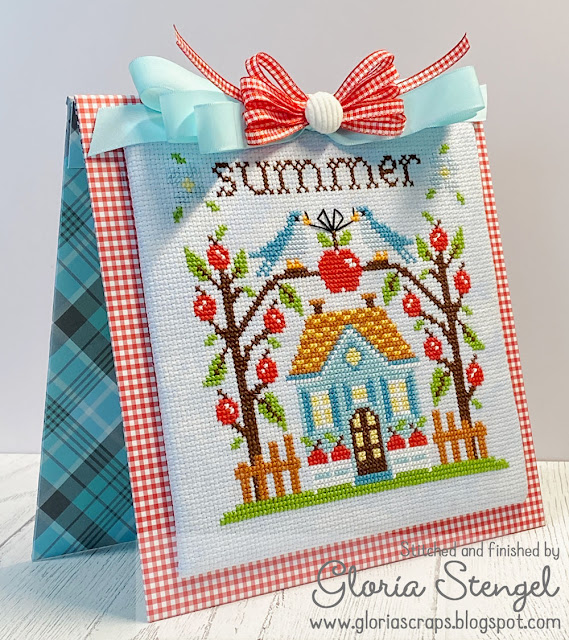 Isn't this adorable?! I love the blue plaid peeking out from the easel, and it is a lovely contrast to the red gingham on the front of the easel and on the plaid ribbon.
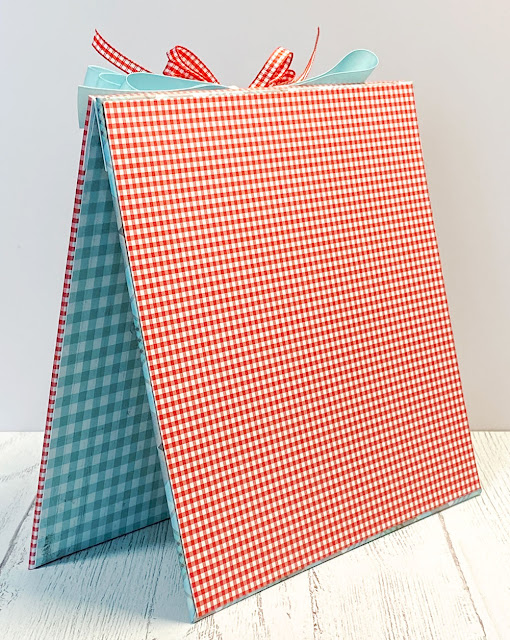 Here is what the back of the ease looks like. This is slightly smaller than 10" x 10" and will fit perfectly on my front room sideboard!
 Using ribbon for home décor is a such a nice way to either create some seasonal color schemes, as I did here, or to color match your existing decorations. I really enjoy the different textiles and mediums together, as it looks inviting and touchable!
 Thanks for joining me today! I hope you are getting into the swing of summer wherever you are. And...that you are having fun with ribbons, too!


Really Reasonable Ribbon Supplies Used:
Other Supplies Used: cardstock, printed paper, chipboard, brad, finished cross stitch project


So very beautiful x
ReplyDelete