Showing posts with label digital image. Show all posts

Tuesday, December 17, 2024

Christmas Wishes Across the Miles Card

Today I am sharing another Christmas card with a little glitz. I used ribbon and mulberry flowers from Really Reasonable Ribbon along with digital stamps and svg cut files from Bonnie Garby Designs.

I created a 4-3/4″ x 6-1/2″ card with loads of layers. My digital sentiment from Bonnie Garby Designs is my main focal point.  I ran a piece of Gold Glitz Ribbon topped with  Holiday Ornaments on White Satin Ribbon across the center of the card.  I topped it off with a pretty bi-color double loop bow and below the sentiment I have added some pretty 10,15 and 20mm red Open Roses.

The sentiment on the front of my card is from my Clean and Simple Christmas Sentiments Digi Stamp Bundle. The interior Sentiment is from the Vintage Christmas Sentiments for the Inside Digital Stamp Bundle. The background was created with the Circles in Line Overlay SVG Bundle. All my designs can be found on my Bonnie Garby Designs Etsy shop.


Our sister company 'Bonnie Garby Designs' is offering a large variety of digital sentiment stamps and svg files.  Below are the digital stamp bundles I used on my card today. 


********************
For a video tutorial on how I use mulberry paper, please click HERE.


My card is topped off with a pretty bi-color double loop bow created on my Bow-it-All V3.0 Tool using red and gold Glitz Ribbon. 

For a video tutorial on how to create this fun bow, please click HERE.

Thanks so much for stopping by today.  Don't forget to stop by and visit me on my Make Time to Craft Blog too.  Have a crafty week!


Friday, December 13, 2024

Merry Christmas Card with a Touch of Pink

Hello friends.  Today I am sharing a glitzy Christmas card with a touch of pink.  I used ribbon and mulberry flowers from Really Reasonable Ribbon along with digital stamps and svg cut files from Bonnie Garby Designs.


I created a 4-3/4″ x 6-1/2″ card with loads of layers. My digital sentiment from Bonnie Garby Designs is my main focal point.  I ran a piece of red Satin with Grosgrain Edge Ribbon topped with pearl pink Satin with Metallic Edges Ribbon across the center of the card.  I topped it off with a pretty bi-color double loop bow topped with a Pearl Heart Embellishment and below the sentiment I have added some pretty 10,15 and 20mm red Open Roses.

The sentiment on the front of my card is from my Christmas Sentiments 3 Digital Stamp Bundle. The interior Sentiment is from the Clean and Simple Christmas Sentiments Digi Stamp Bundle. The background was created with the Quatrefoil in Square Overlay 2 SVG Bundle. All my designs can be found on my Bonnie Garby Designs Etsy shop.

Our sister company 'Bonnie Garby Designs' is offering a large variety of digital sentiment stamps and svg files.  Below are the digital stamp bundles I used on my card today. 


********************
For a video tutorial on how I use mulberry paper, please click HERE.


My card is topped off with a pretty double loop bow created on my Bow-it-All V3.0 Tool using red and sherbet Delicate Stitched Satin Ribbon.  It was topped off with a Pearl Heart Embellishment.

For a video tutorial on how to create this fun bow, please click HERE.

Thanks so much for stopping by today.  Don't forget to stop by and visit me on my Make Time to Craft Blog too.  Have a crafty week!


Friday, April 15, 2022

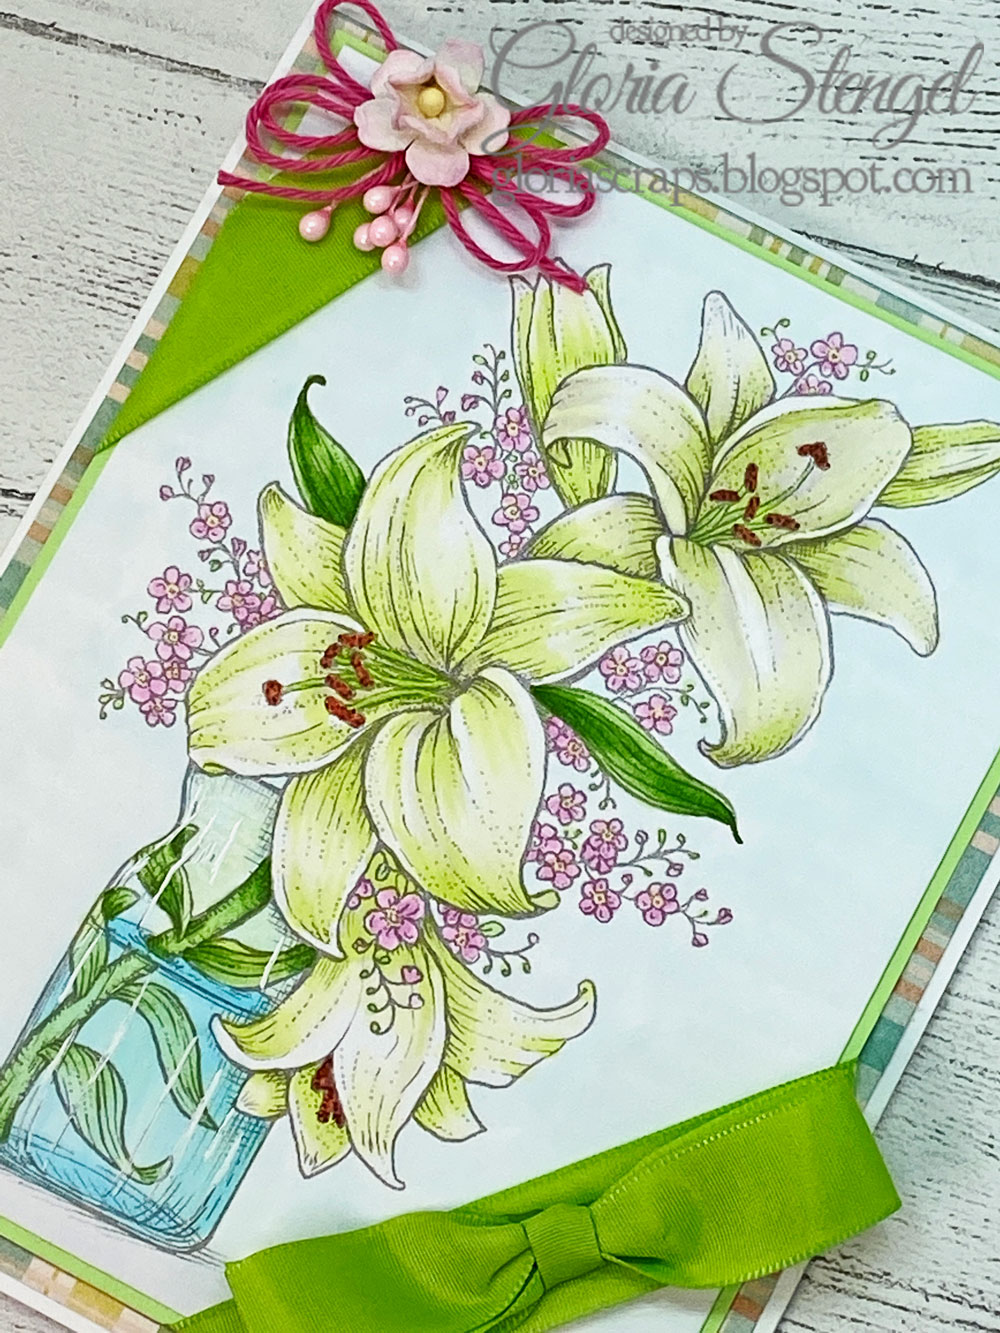
Blessed Easter

 Good morning, Friends! Blessed Good Friday to you! I have a soft, spring-time card for you today!

I created a last minute Easter card by stamping a message inside. However, you could use this card for a sympathy card, birthday card, or friendship card by choosing a different sentiment. 

The card is 6" x 4 3/4" made from white cardstock. I trimmed a piece of plaid paper to slightly smaller than the card front and attached it with some double-sided tape. 
I printed the digital image onto white cardstock and colored the image with Copic markers. 
I trimmed the image panel to 5 1/2" x 4 1/4" and matted it with a piece of green cardstock.
Before attaching the image to the front of the card, I wrapped the corners with ribbon, making sure to securely attach it to the back of the panel. I then attached the image panel to the card with scor-tape.

I added a bow made from the same ribbon, plus a bow made from twine, a tiny flower, and some stamens. I love how spring-like this card turned out.  

Thank you so much for stopping by and have a truly blessed Easter!

Really Reasonable Ribbon Supplies Used:
Wild Orchid Craft Sweetheart Blossoms - Mixed Pink
Double Head Stamens - Light Pink
Scor-tape (1/2")

Other Supplies Used: Digital image by Power Poppy, Copic markers, Various cardstock and paper

Sunday, November 18, 2012

Retro Vintage Christmas Cone Ornament


Hello Friends!!
Happy Sunday!!
Heather here, and I have another fabulous Christmas ornament to help inspire you to create some holiday ornaments of your own!
I have created a "Retro Vintage Christmas Cone Ornament."
(more photos on my blog)
I used some great ribbons and trims from Really Reasonable Ribbon.  The vintage cone image is one that my friend Sandi asked me to fix (digitally).  You can pop on over to her blog and get it for free!!  You can also find it on my "stuff" page.
Here you can see the red snowflake ribbon, peppermint baker's twine, red pom pom trim and red box pleated trim that I used to make the top look all fancy.  I also used some of the same trims to dress up the bottom of the cone.
I used some Mica flakes and Glitter to add some sparkle through out the cone.  I also used Utee to make the stars pop.
I hope that this inspires you to create something fun and festive!!

Better yet, pop on over to Sandi's blog, get the free sheet I created with her vintage image, get some ribbons and trims, dress it up and link up to our RRR challenge going on now!!

Anything but a card and ribbon!!
Have a great day!!
hugs!!