Thursday, July 25, 2013

Shabby-Vintage Ribbon Spool Tutorial

I'm so excited to share my tutorial today because it's such a simple solution for storing your full spools of beautiful Really Reasonable Ribbons. Don't hide them away...keep them out so they're handy and easy to find. But if your thinking to yourself....the spool is not as beautiful as the ribbon on the spool. But why shouldn't they be??? Finish them off and add them to a pretty vintage bowl or tray and keep them right out on your work surface.
Here's a few resting in a pretty painted compote.
Or line them up in a vintage tray.
Maybe just stacked up a shelf...for pretty and practical decor.
This process is SUPER SIMPLE and you can choose just the right images to match your creative space.
First print out some images you love...for me..it's gotta be pink and shabby. You can do a lot of mathing and print them out to measure exactly right......or...if you're like me...just print them a bit big and trim the excess. Don't worry if it's not circular...just as long as your image is big enough to fit the size of the spool.
I traced a rough circle around my spool...neatness does not count as you can see lol.
Cut out your slightly too large image. The spools have a  shiny surface....so you'll want to use your Scor-Tape to adhere the image. Little strips around the outside work just fine. Tare off the paper backing of the tape and adhere the spool to the center of your image on the back side of course and trim the excess with small sharp scissors just following the outside contour of the spool. Now you can finish it off with ink and embellishments. I chose butterflies and a small tag.
As you can see...I've gotten a lot of use from the Pink and Silver Gray Organza : ) Can you imagine how beautiful a big wire basket full of these vintage inspired ribbons spools would be??? I think I'll be having a closer look at the selection of trims I can order on spools from RRR...so I can add to my collection .
Okay that's it for my tutorial..I hope you love it as much as I do!
I hope you all enjoy a happy and productive day and find some time to be creative: ) Huggs..Ginny

Wednesday, July 24, 2013

Ribbon Bracelet

Happy Wednesday to Y'all! 
I am ready for FRIDAY!  Just sayin'!!

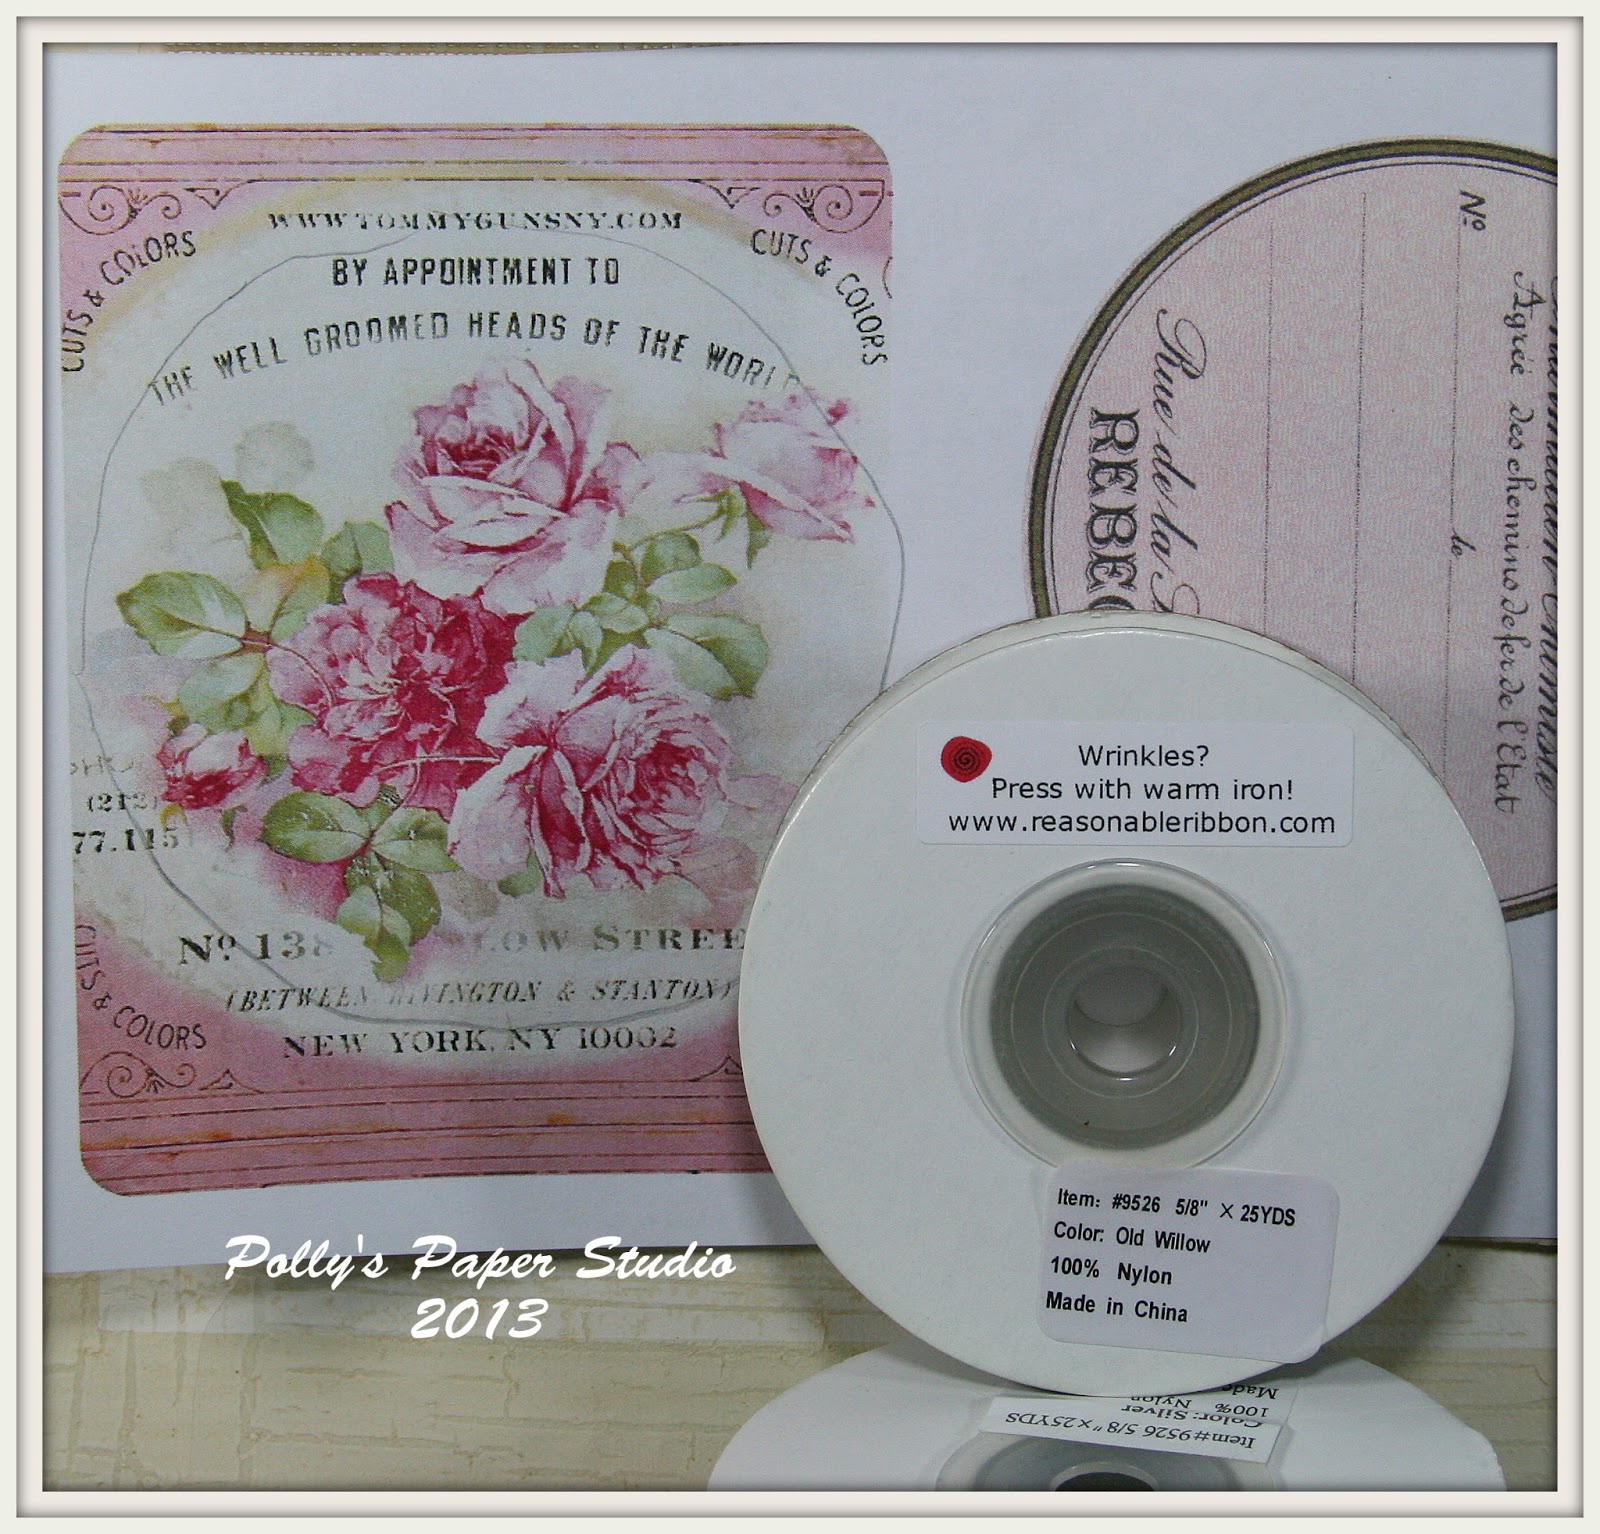
Today I want to share with you a bracelet that I made using this assortment;

This doll sized Headband:

and some random embellishments.


I couldn't get my video tutorial to work...so I am going to have my techy son take a look.  I honestly am not savvy with the video part...I can do photo all flippin' day long though! 
I could have done a photo tutorial as I have done in the past, but this one really needs my southern twang talkin' to y'all.  :)   SO...you get a sneak preview! Keep an eye out in August!
Bonnie better get ready to stock up on some "bracelets"...I promise they will be a hit! 
Y'all have a wonderful Day!
 
** For video tutorial, click HERE **

~~Misty


Tuesday, July 23, 2013

Creating sunshine...


Hello....up to a little bit of sunshine creating?   I was so inspired by these gorgeous teal ice buttons.  They were my jumping off point.  I grabbed some of my scraps and started playing.  I cut three pieces of scrap paper down to a typical 5 1/2 x 4 card size.   I adhered them and stamped my sentiment down in the lower right side of card adding a teal ice button. From there I leaned on my banner diecuts to create layers and layers of "sunrays".  This is a great way to use up those wee size scrap pieces we all stubbornly will not throw away.   I used scor-tape to adhere the rays down and to layer them the way I wanted.  From there I added a bit of Samantha white crochet lace  with scor-tape to a chipboard circle and adhered it to the middle of my sun and than topped it off with a yummy teal ice button!
Now it was time to have fun with more ribbons.  I layered the Lyndsey white lace with light blue crochet lace for softness.  I than had to add some seambindings.  I combined the mimosa yellow with lace blue.  I added a couple of vintage millinary flowers and was done!  So fun to really use those papers, diecuts, and ribbons.  Less products but more of them!  Have fun!  hugs, cherry

Monday, July 22, 2013

What's the Scoop?

Hello! Judy here with a fun little yummy card to share. I used my new favorite set, Flourishes' Pinwheels & Popsicles, for my images this week.
I stamped my cone using Memento Tuxedo Black ink on Crumb Cake (SU!) cardstock, and then colored in with Prismacolor pencils. I added a little Spica Glitter pen to the cherry (Red) and cone (Chocolate) hash marks.

The Kraft Little Bitty bag, Cotton Candy Baker's Twine, and Pearl Pink Chevron ribbon is from the Really Reasonable Ribbon Store. I am hooked on these little bags! They are so cute and come in three designs in the kraft! My designer paper is by My Mind's Eye.

Thanks for taking a peek~!


Sunday, July 21, 2013

Happiness is . . .

Hi, it's Tracey here to share the anniversary card I created for my husband, Gary, featuring a variety of natural, masculine ribbons from the Really Reasonable Ribbon Store. We are celebrating 31years in a few days. 

"Happiness is . . . Being with you"

Really Reasonable Ribbon Products:

Tips and Techniques:

Pleated Ribbon ~ The May Arts Burlap Wired Ribbon is a dream to work with and pleat. I've included a tutorial to create this pleated ribbon below. 

Layered and Wrapped Ribbons ~ I layered four of Bonnie's fabulous natural ribbons starting with the Natural Jute Ribbon topped by Wired Pleated Burlap Ribbon, then 5/8" Jute Ribbon, and finally wrapped with white Bamboo Cording.

Twine Flower ~ Who says you can't use flowers on a masculine project? This one is created with 20lb Natural Hemp Cord using my Twine Flower Tutorial found here. I topped it with a button from the Natural Button Grab Bag. There is such a nice variety of buttons in the grab bags! 

Leaves ~ I trimmed several small sections of May Arts White Leaves and tucked around my flower. 

~ ~ ~ ~ ~ ~ ~

Pleated Burlap Wired Ribbon Tutorial


Supplies:
Ruler
Pencil

To determine the length of ribbon needed, each 1 inch pleat takes 2 inches of ribbon with an extra ½ inch on each end, so the 6 inch section of pleated ribbon on my card required 13 inches of wired burlap ribbon. You can work directly off your roll of ribbon, so there is no need to cut until your pleating is completed, but this guide will help you assure that you have enough ribbon for your project. 

Step 1. On the back of your ribbon, make a small pencil mark at 1.5 inches from the end, then ½ inch from that mark, then repeat across the length of your ribbon. Your pattern will be 1.5 inches, ½ inch, 1.5 inches, ½ inch, 1.5 inches, ½ inch etc . .


Step 2. Fold the end of the ribbon at the first 1.5 inch mark towards the back with wrong sides together.


Step 3.  At the next mark, ½ inch further into the ribbon fold in the opposite direction this time with right sides together to create your first pleat.

Here’s what it should look like from the top side:

Here’s a side view so you can see the direction of the folds:

Step 4. Fold again on the next mark 1.5 inches further into the ribbon with wrong sides together.

Here’s a view from the back side after this fold:

Step 5. Fold again on the next mark ½ inch further into the ribbon with right sides together.

Here’s a view from the top of the ribbon after the fold.

And a side view:

Step 6. Continue to repeat these folds until you get the length of pleated ribbon required for your project:

Note, I have shown the side view with the folds slightly open so you can see the direction of the folds. You will actually pinch the wired ribbon so it lays flat:


The wired ribbon holds the pleats well, but I tucked a piece of Scor-Tape in the fabric layers to hold the pleats in place before adhering to my card with more Score-Tape

Be sure to stop by the Really Reasonable Ribbon Store to check out Bonnie's amazing selection of ribbon. 

Thanks for stopping by today. I hope you've been inspired to create a masculine card for a special guy in your life.

~ Blessings ~ 

Saturday, July 20, 2013

Forever in Love!

Hello ribbon lovers!  I've got a simple and lovely gift idea to share today!  I guess I've been in the mind set of crafting things that other people would buy to give as gifts lately.  I've been working very hard to create items other than cards for CHA!  It's coming so quickly . . . Just 2 days and I'm off to Vegas!  

For today's project . . .  years ago I purchased about 20 paper/cardboard frames from Hobby Lobby, on sale of course (wink), and decided that they could easily be made into lovely gifts with the right theme and objects. What better than loads of 3/8" Butterfly Multi Grosgrain and  those Moss Green Jumbo May Arts leaves ribbons, adorable pre-colored print and one of the Leaf Trio die cuts!  

The frame is covered with some of my scrap paper, and glued onto the back of the frame.  The love birds are part of the Sweet Valentine Whimsy Prints (pre colored) collection.  The Recollections pearl is altered with my Copics to offset the color of the birds, and the Really Reasonable Ribbons used here bring the frame to life!  I was so glad I decided to extend the large green leaf ribbon across the bottom, adding texture, elegance and that finished look to the whole theme.
 
 For some more photos and information, visit me at HandmadebyTLC!  Till then, ta ta for now!  Thanks for joining me and I hope you're inspired to alter some of those great finds!


Hugs,

Friday, July 19, 2013

If Friends are Flowers... By Jenn Cochran

Happy Friday!!!  So glad to have you stop by this fabulous Friday!  Today I have a special card I made for my Bestie Sasha!  It was her birthday back in June.  We had a great time going to dinner and a movie (unheard of for two mom's!!!).


I am featuring ribbon from the "July Ribbon Club".  It is a fantastic mix of bright summer colors.  I have used the Random Dots Tangerine with White Dots and Diamond Satin Acid Green


The image is by Hambo Stamps.  Smiling Flower is one of my favorite stamps from Hambo.  It is a cheery little sunflower perfect for every occasion.  The sentiment is also Hambo called: Best Buds.


 I have also used twine that is not in the July Ribbon Club.  It is called Bakers Twine Orange.  I made the adorable little twine bow using my Bow Easy Tool.


Thanks so much for stopping by!  

Supplies:
Image: Hambo Stamps:Smiling Flower and Best Buds
Paper: EP

For more Really Reasonable Ribbon inspiration from me go 

JENN